PowerBook G3
‘Lombard’
History
Introduced: May 10, 1999
Discontinued: February 16, 2000
Original Retail Price: $2,499
Model #: M5343
Tech Specs
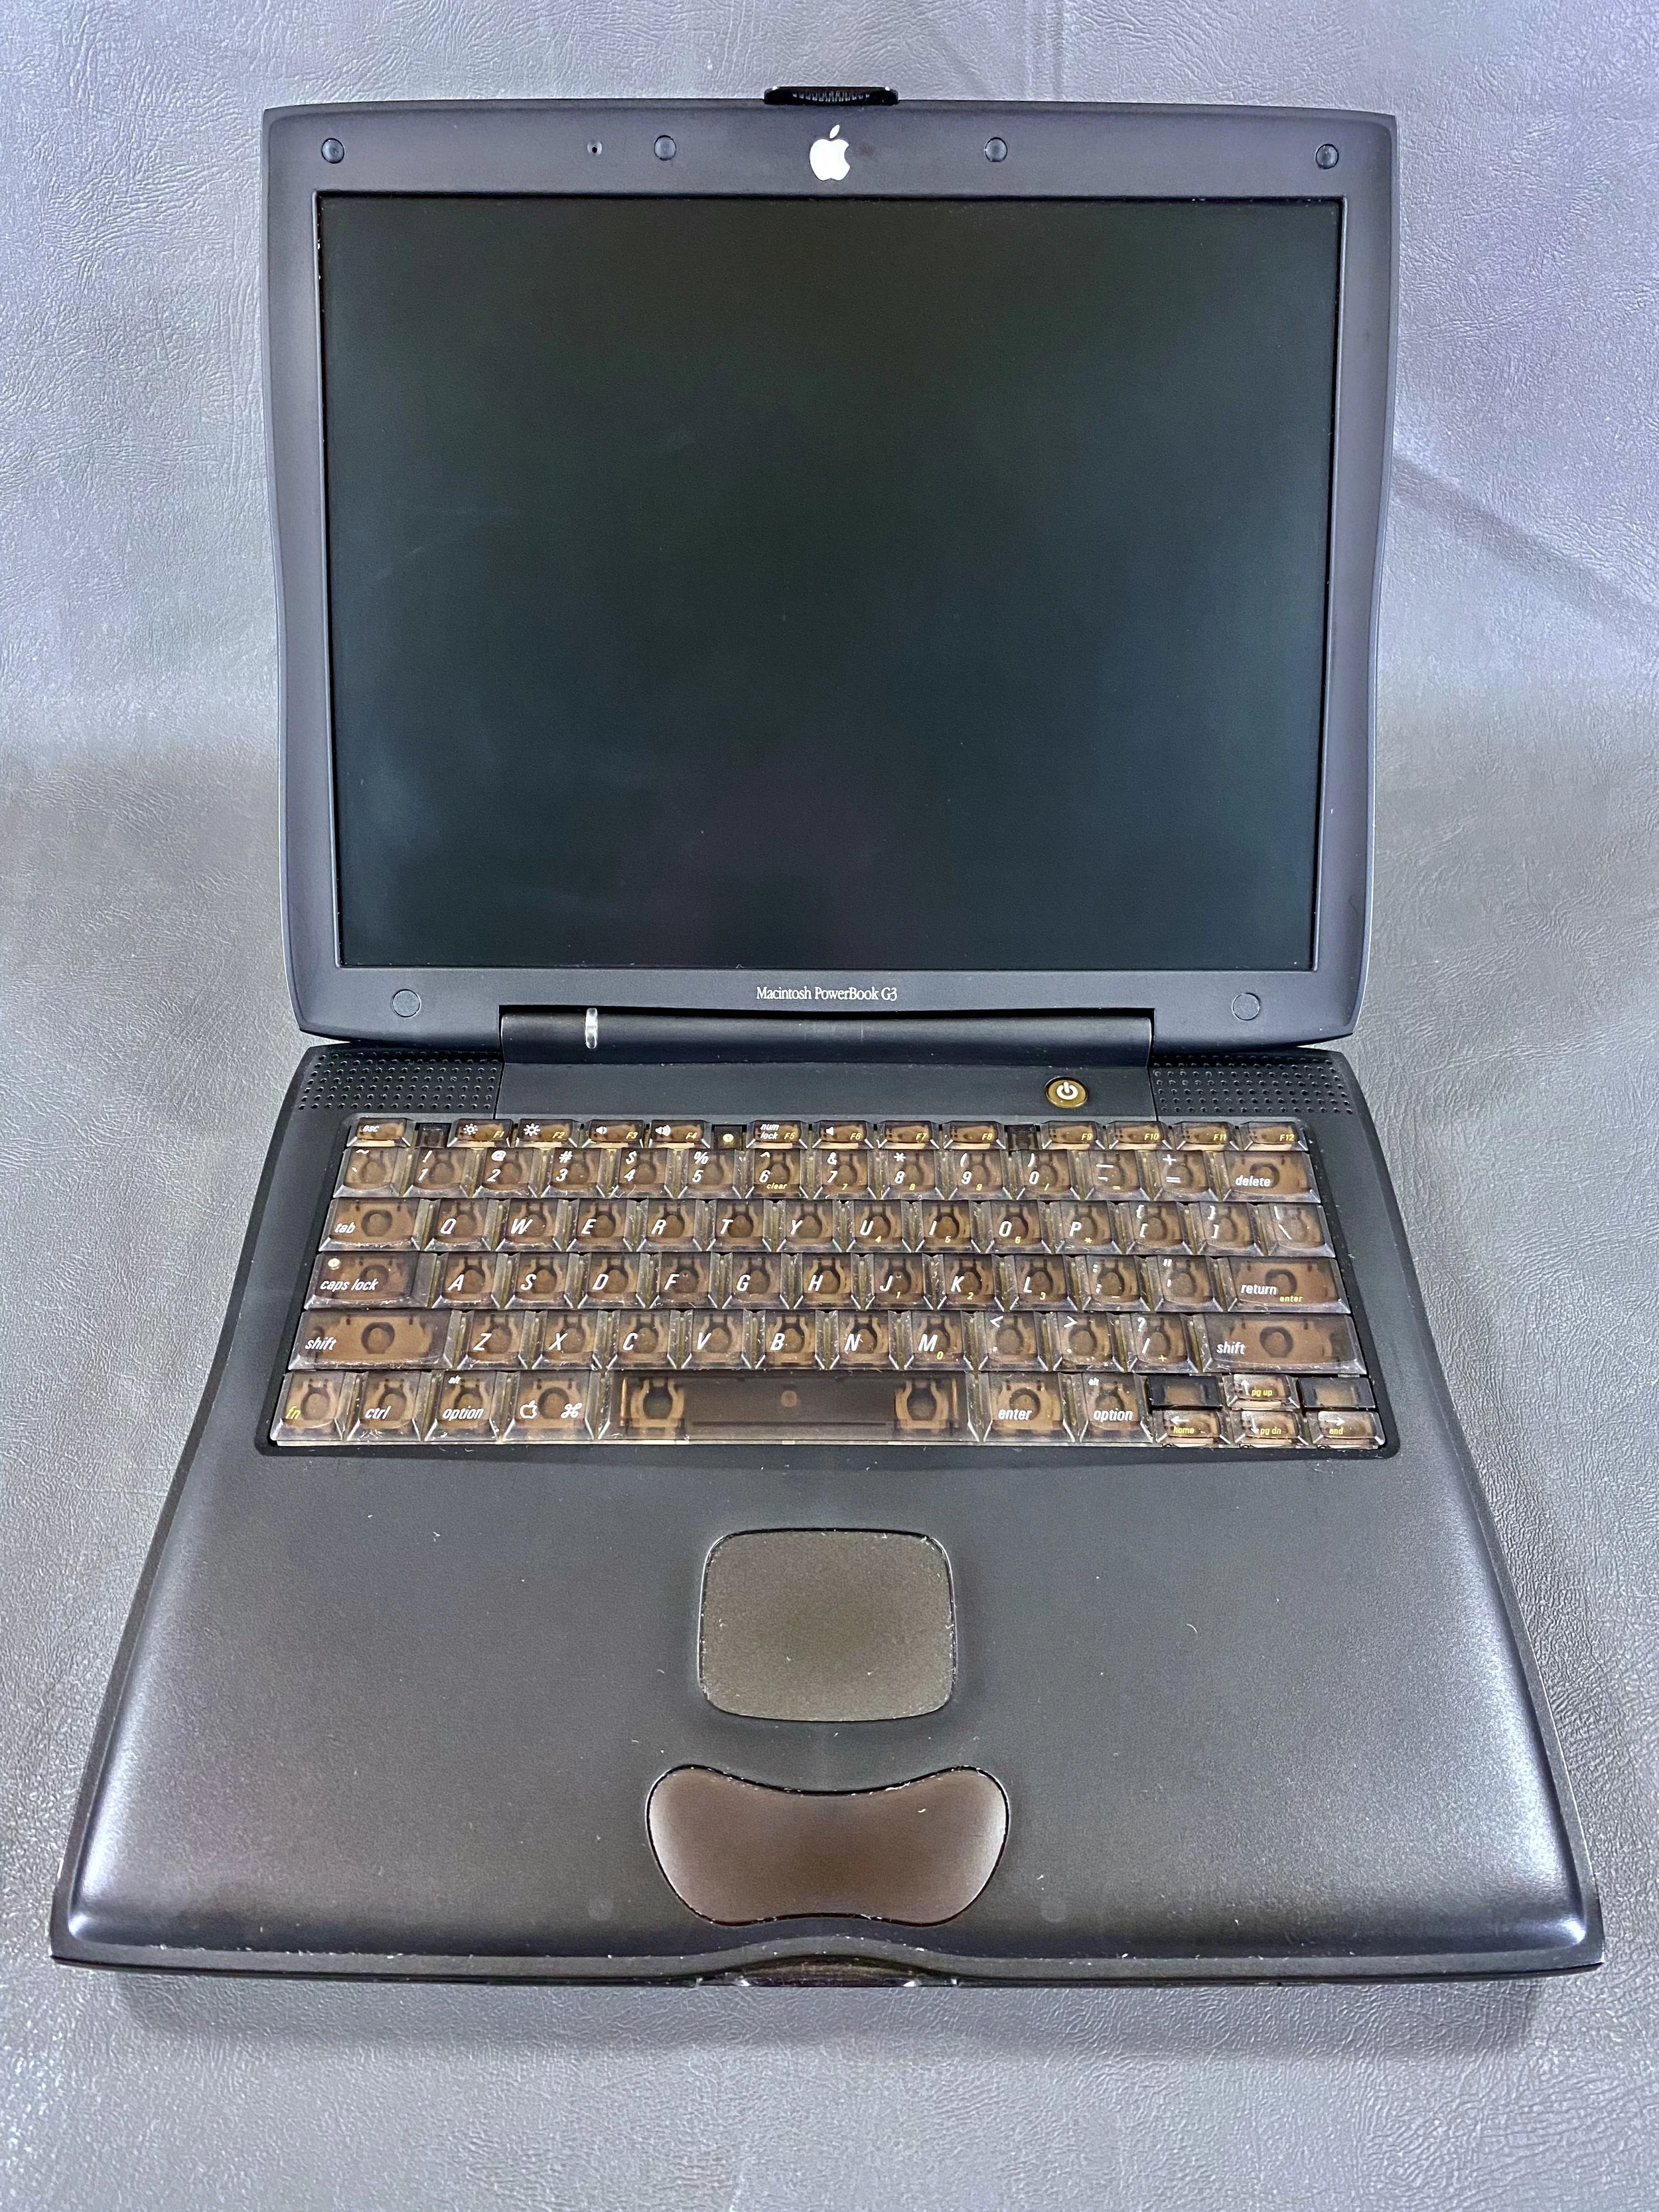
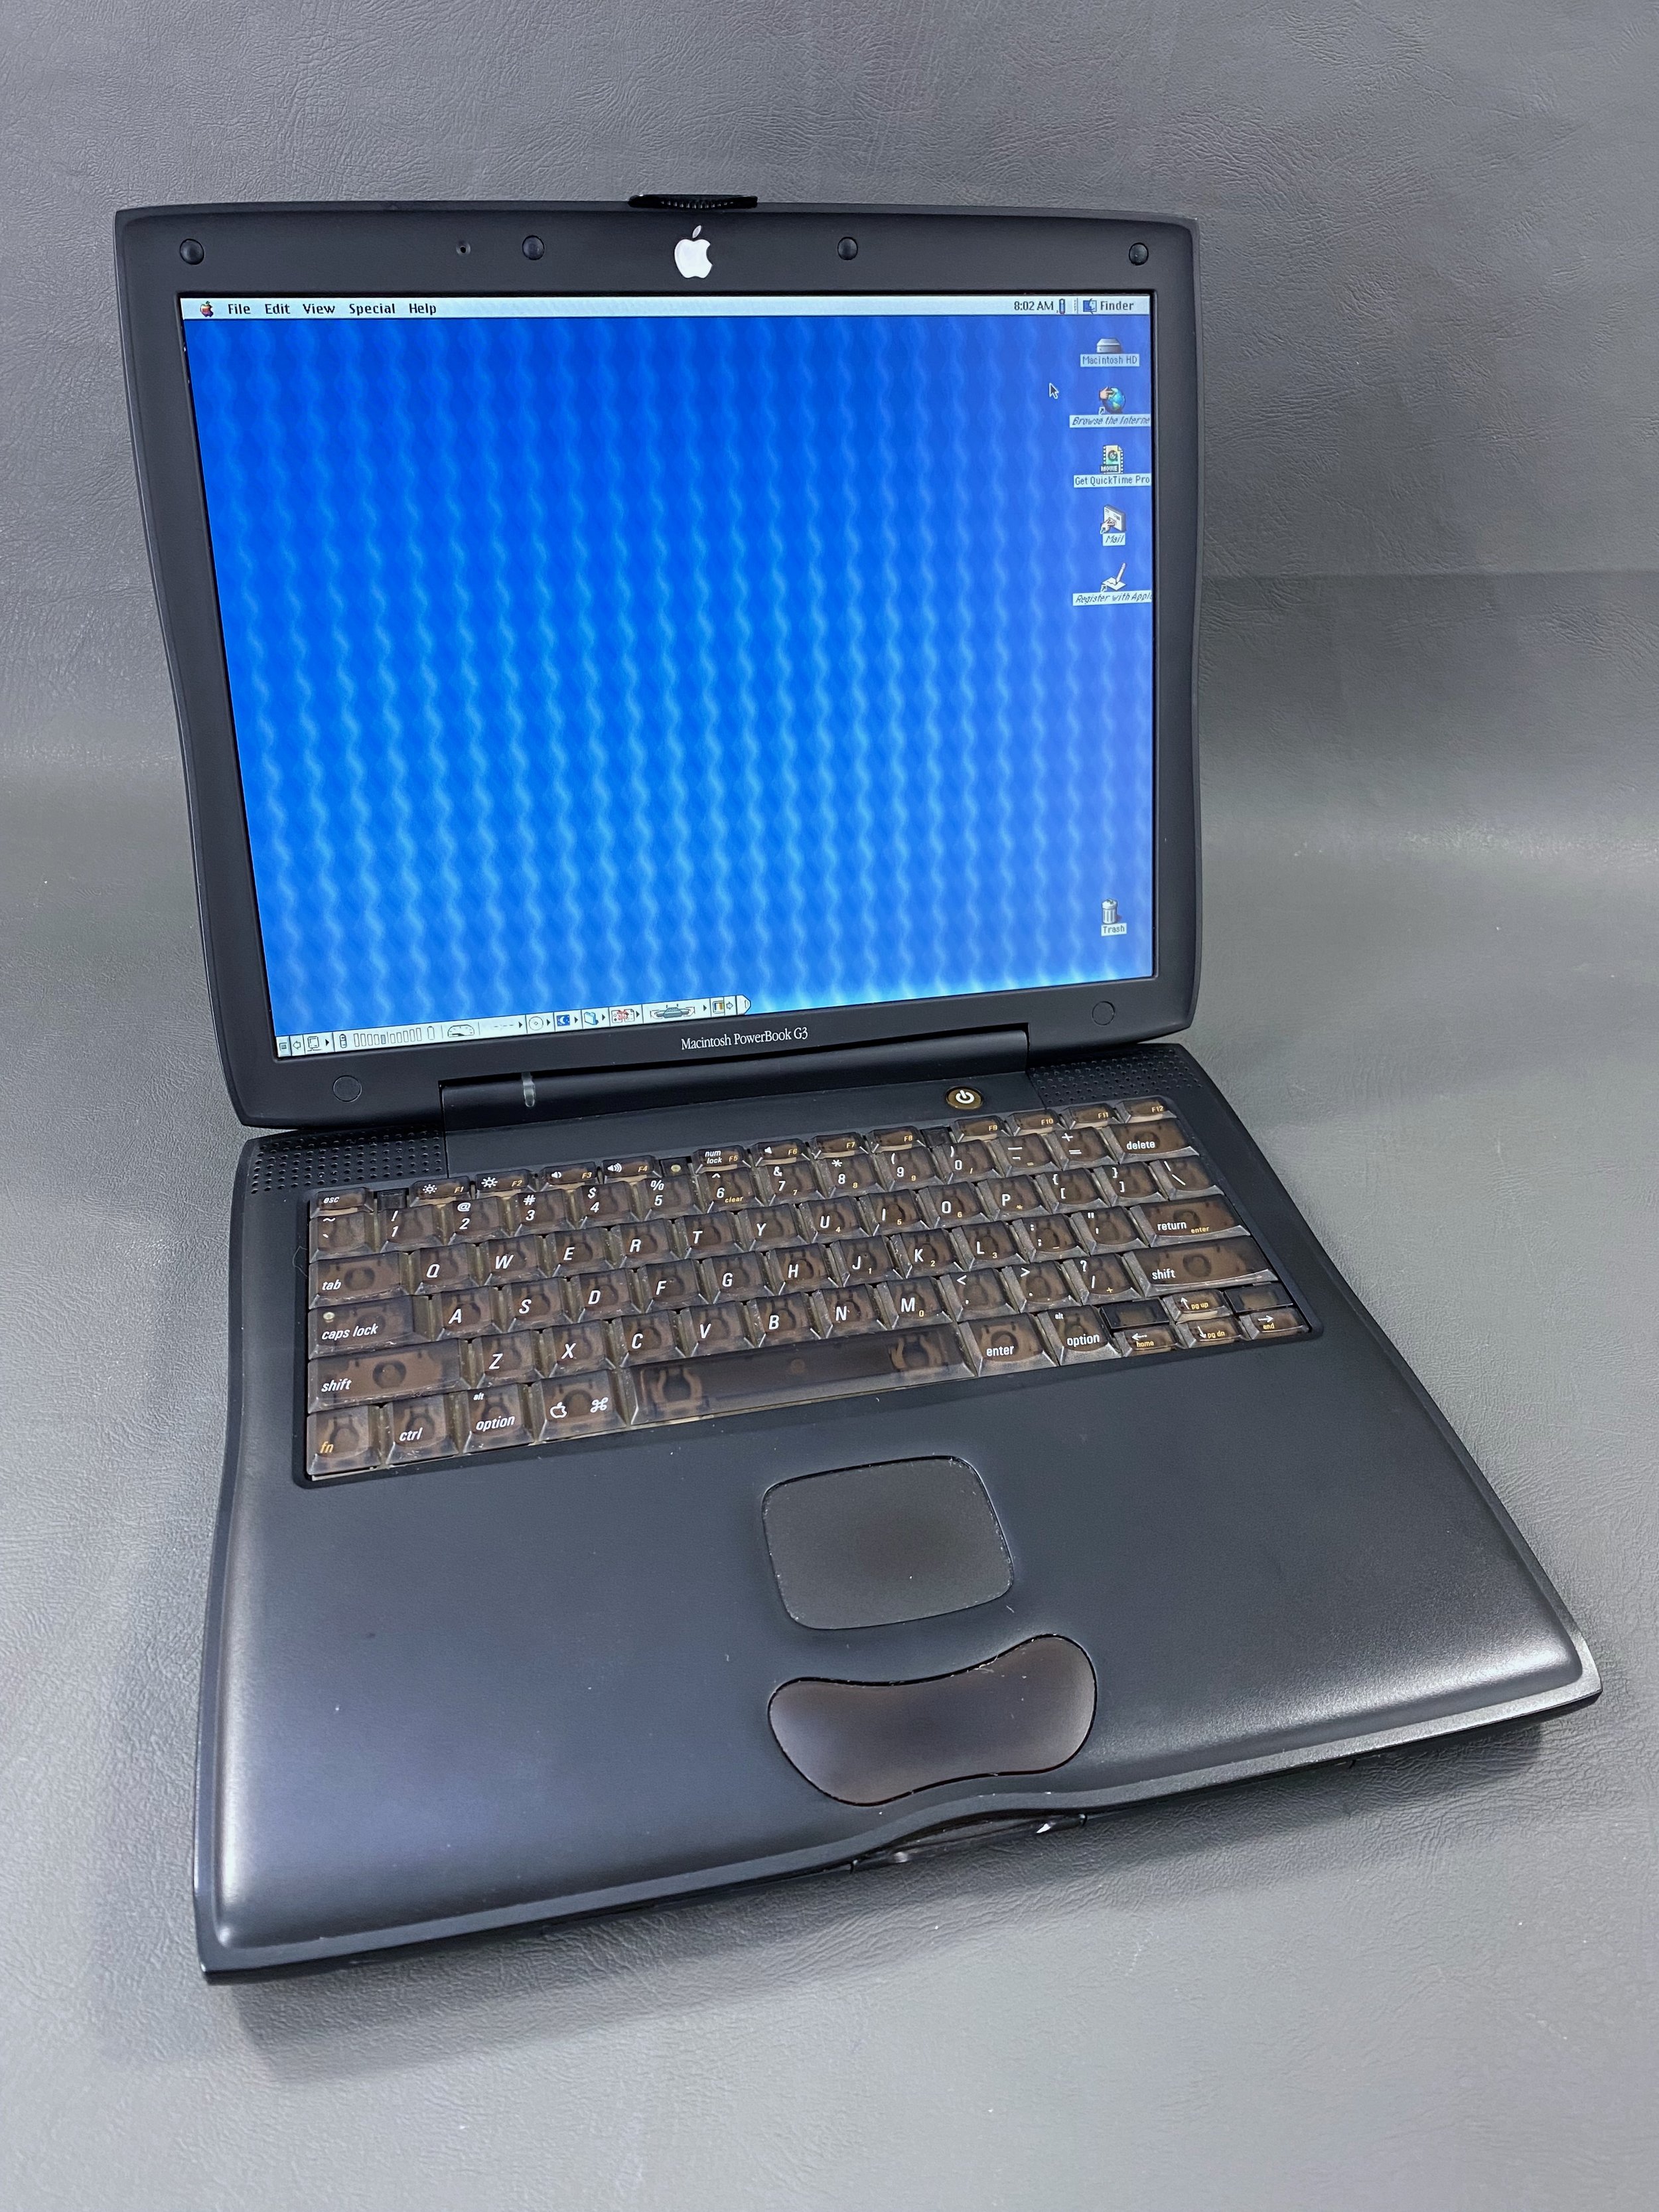
Display: 14.1” TFT LCD
Processor: 333 MHz PowerPC G3
RAM: 128 MB (upgraded)
Hard Drive: 64 GB SSD (upgraded)
Optical Drive: DVD-ROM
OS: OS 9.1
Condition & Notes
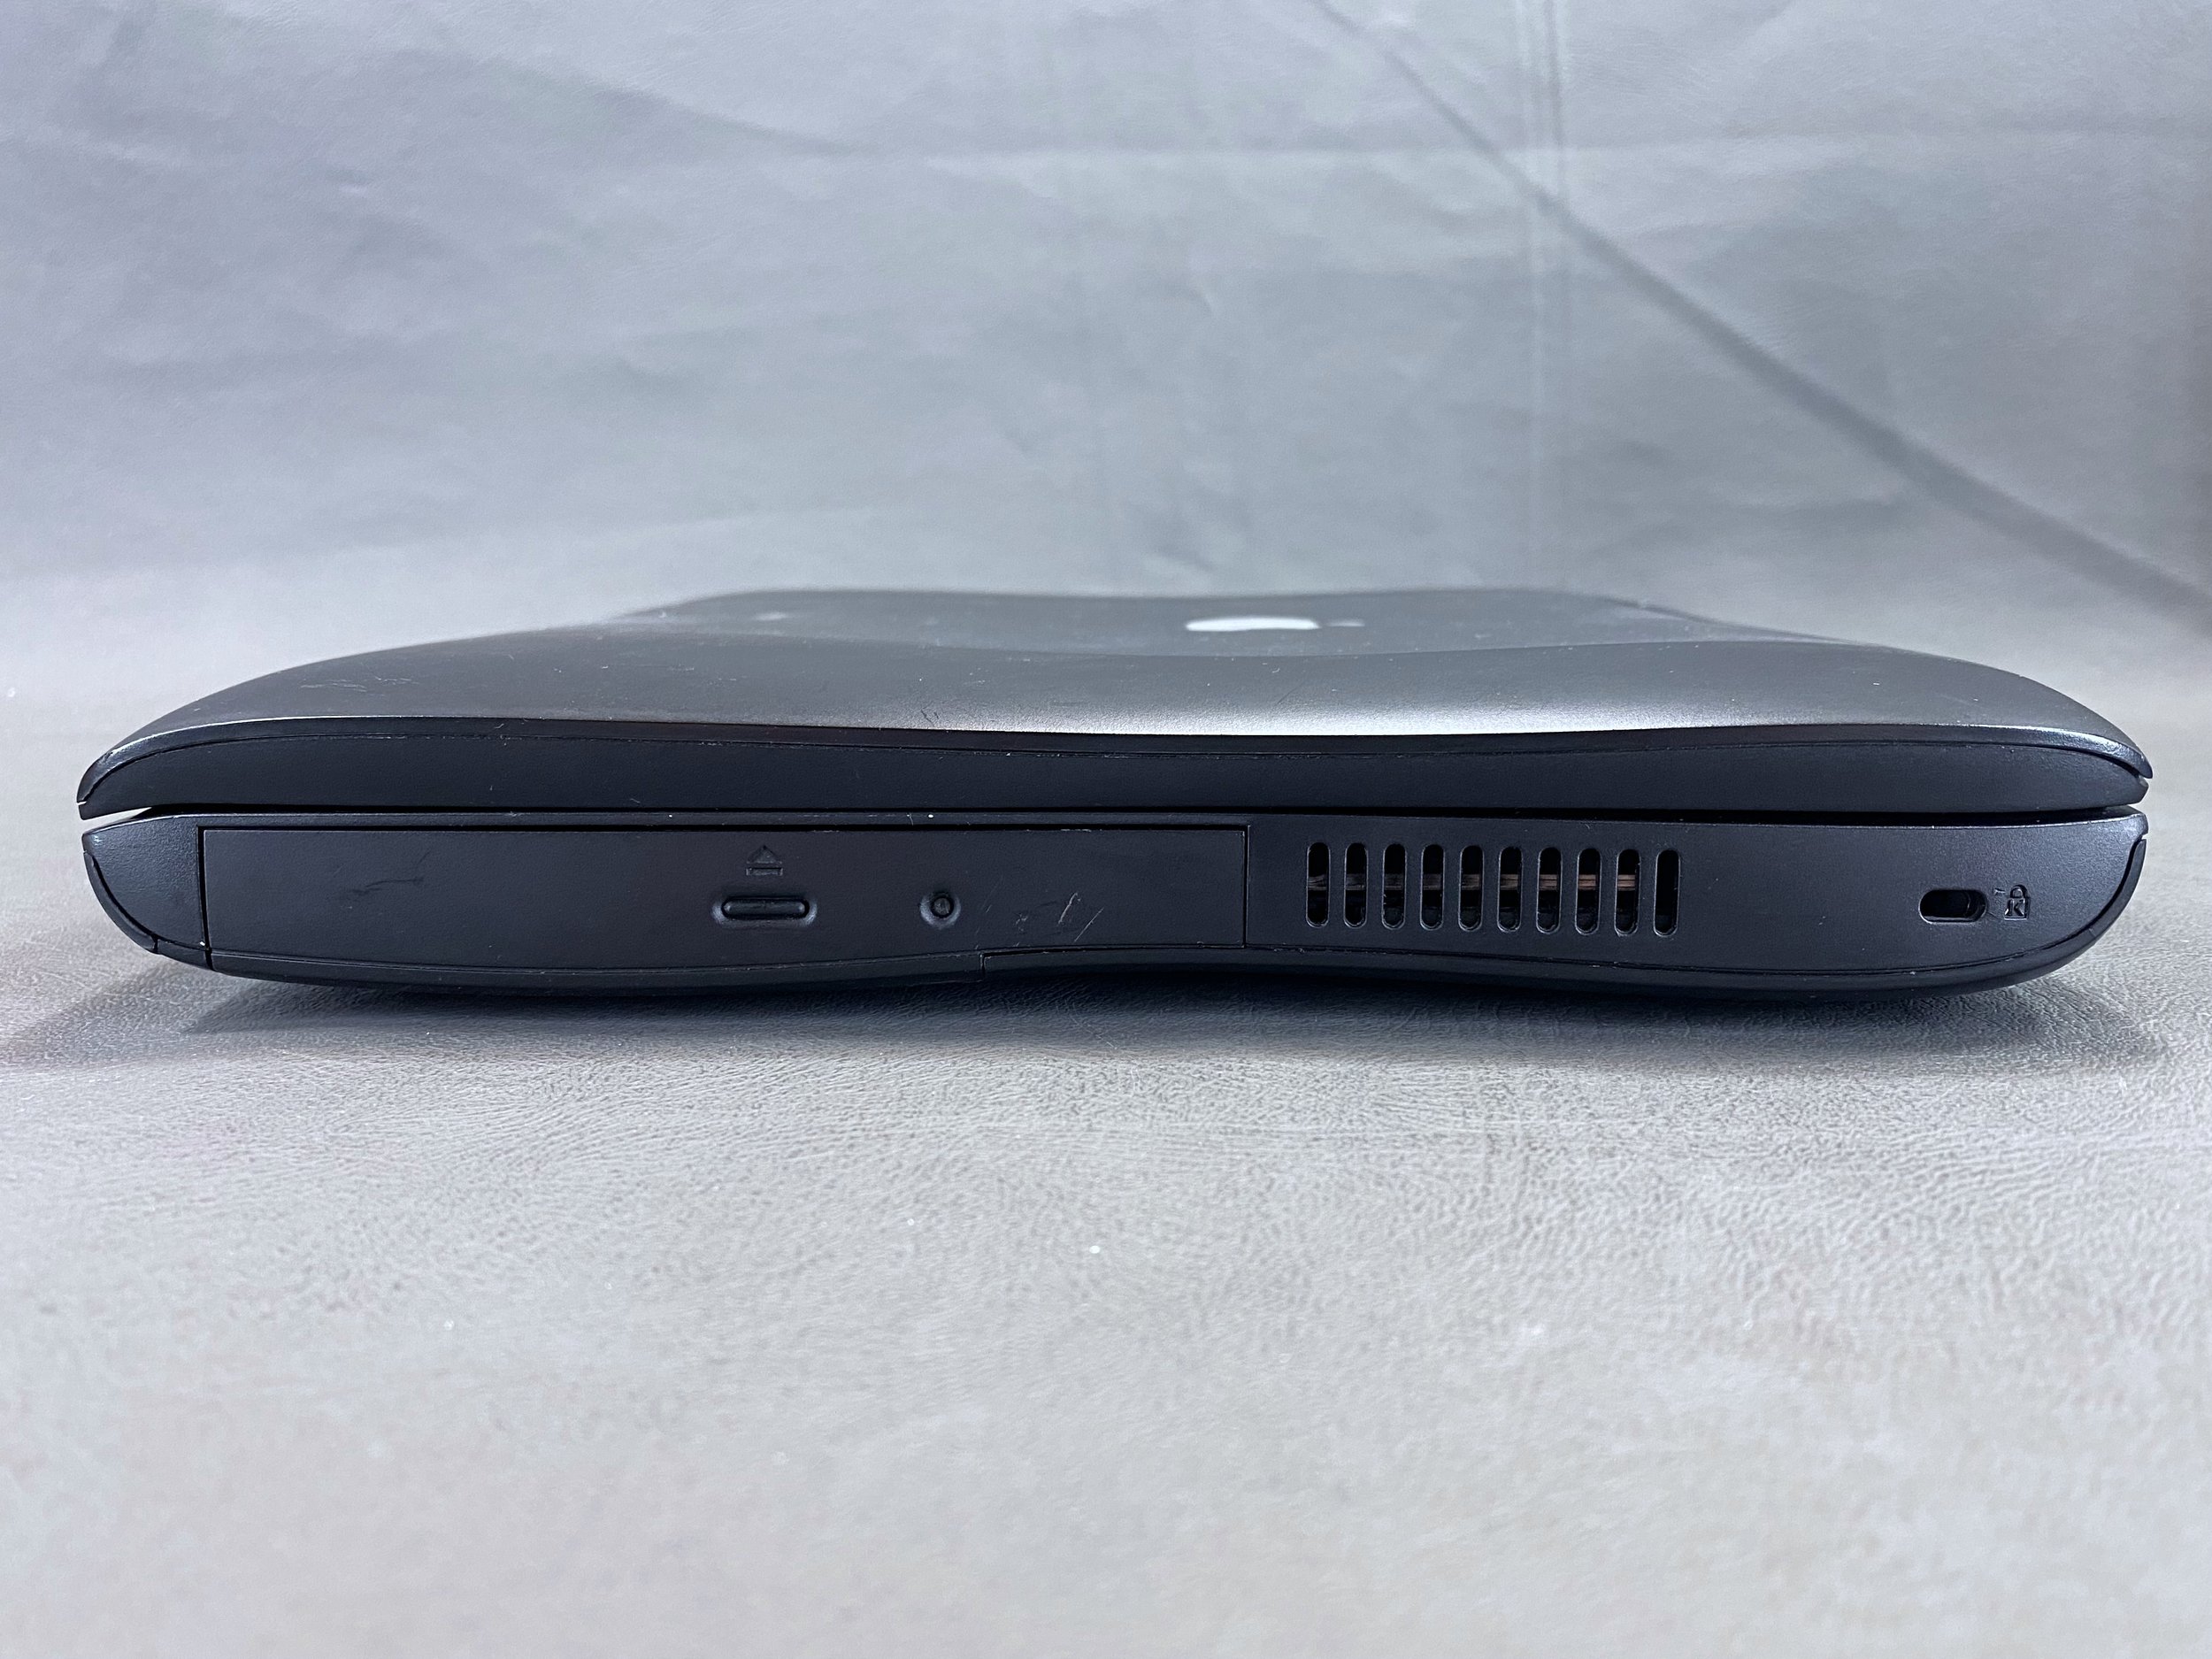
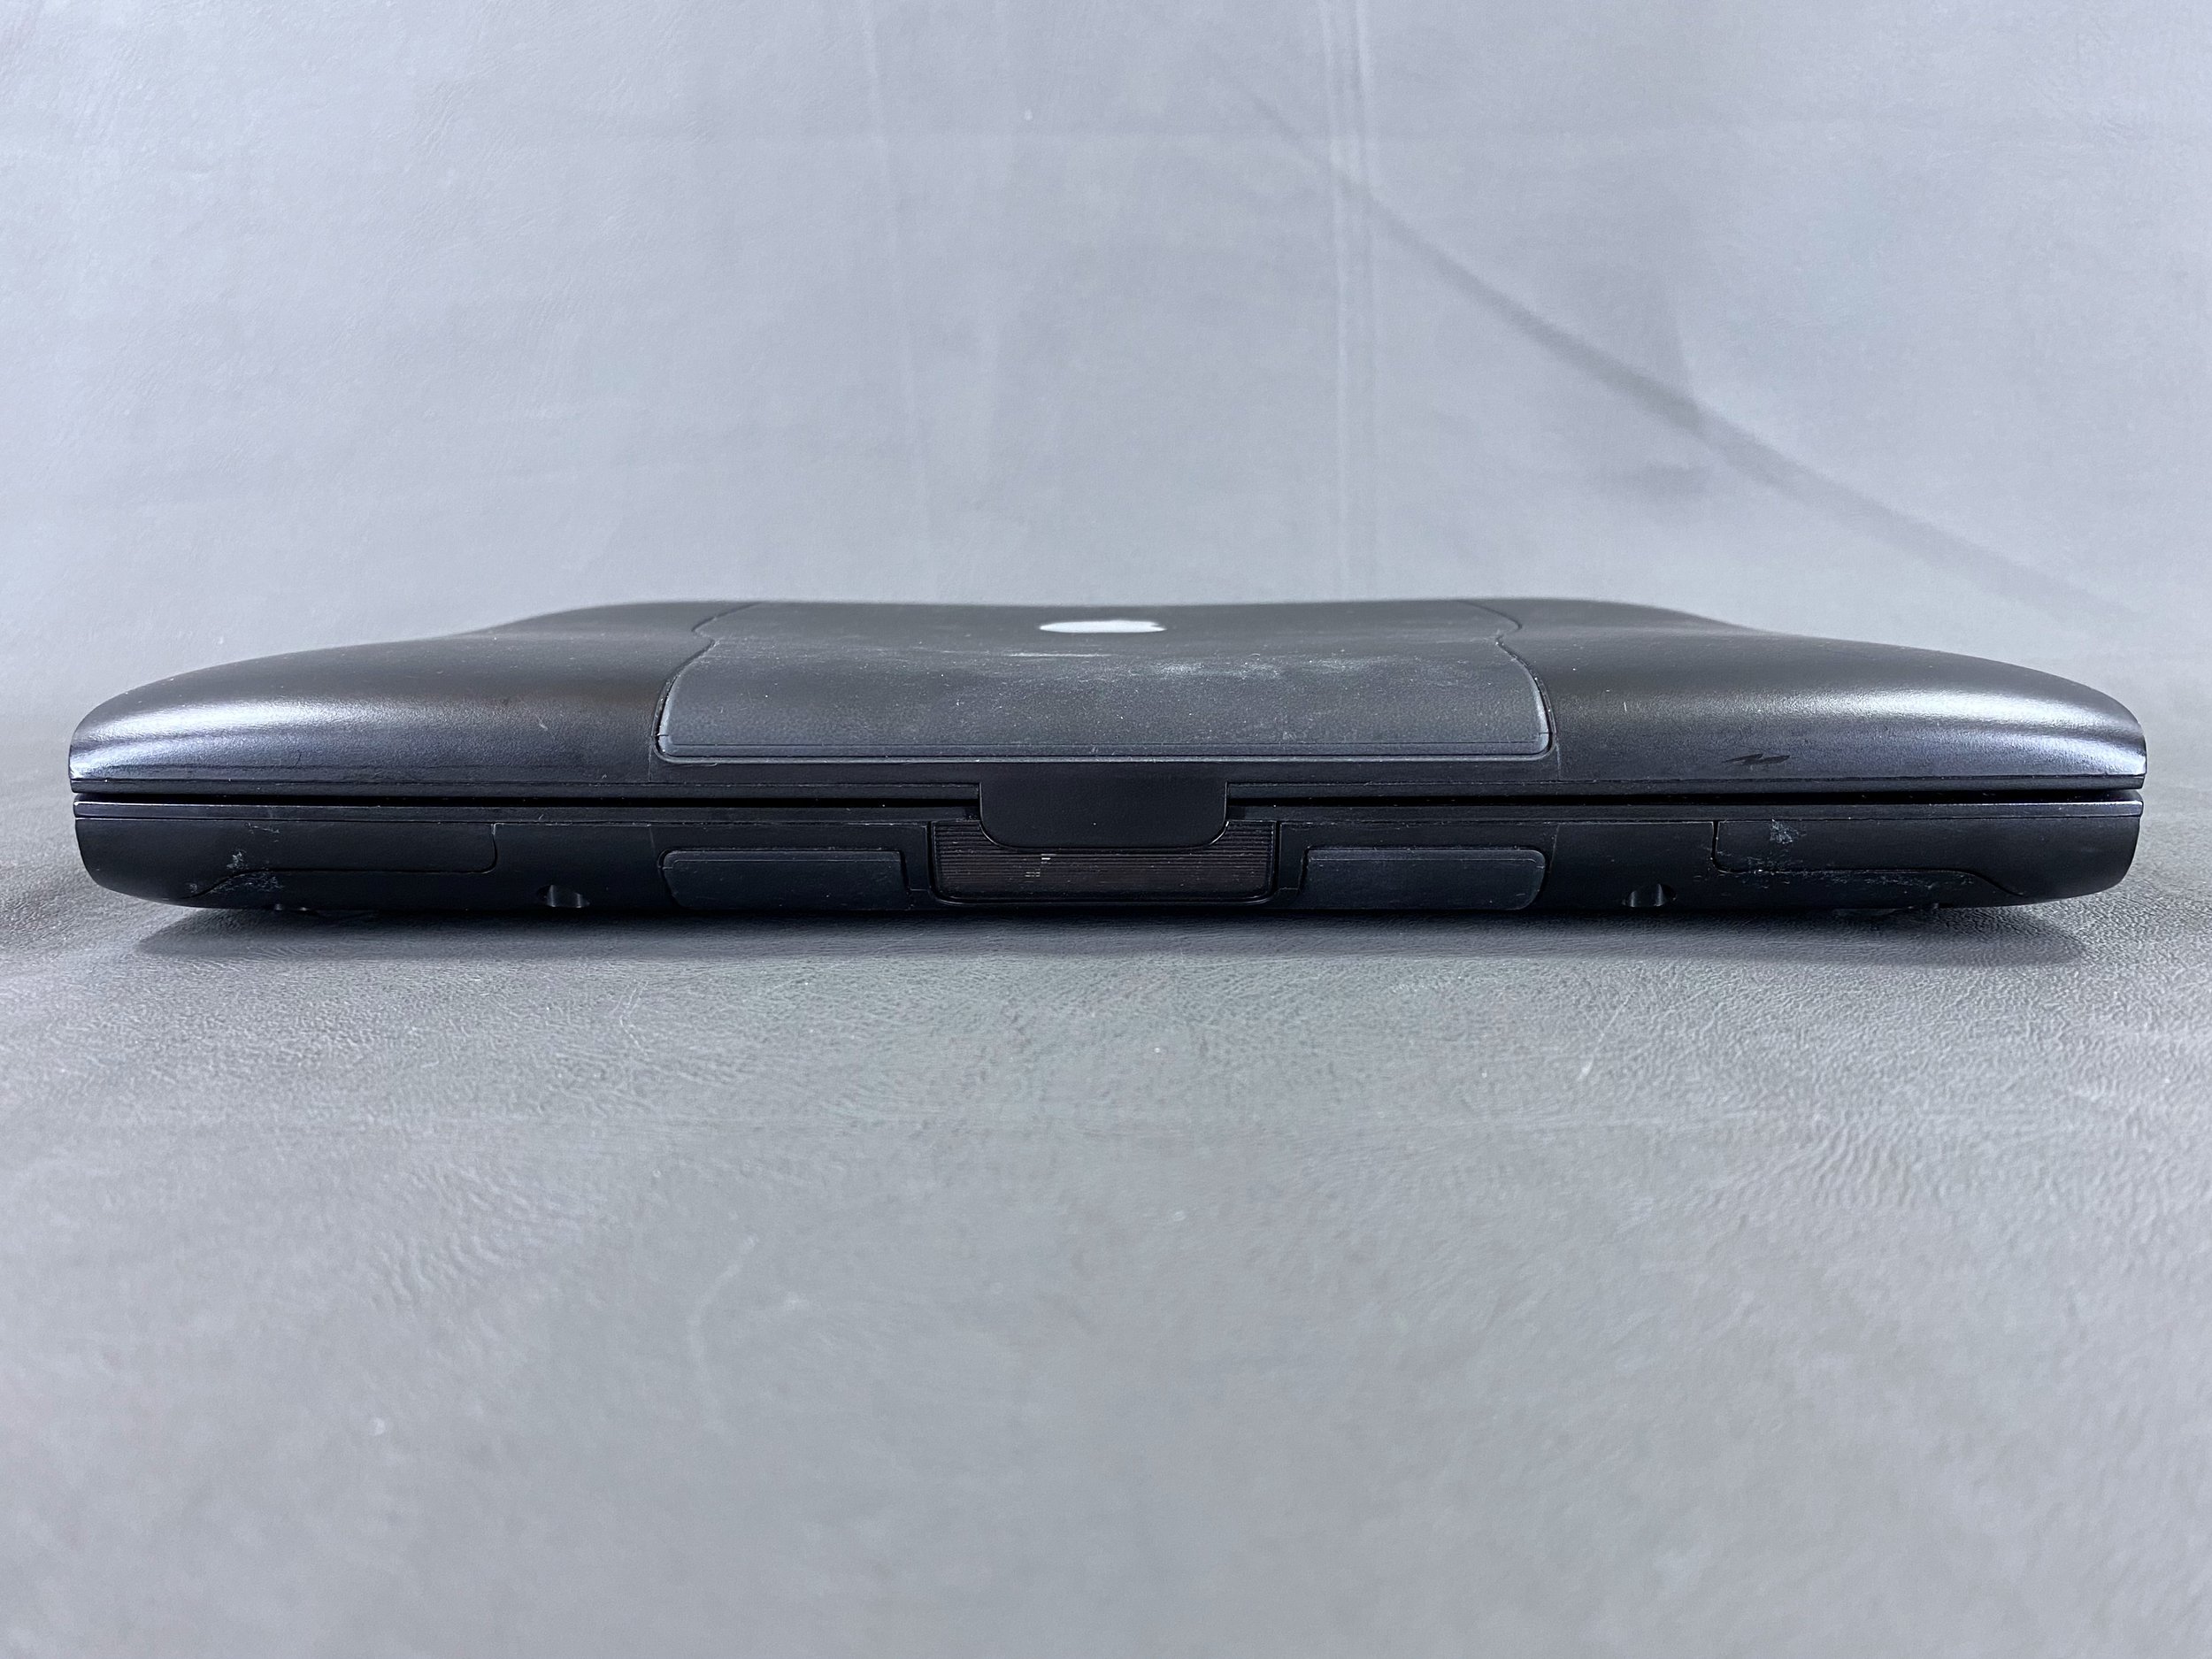
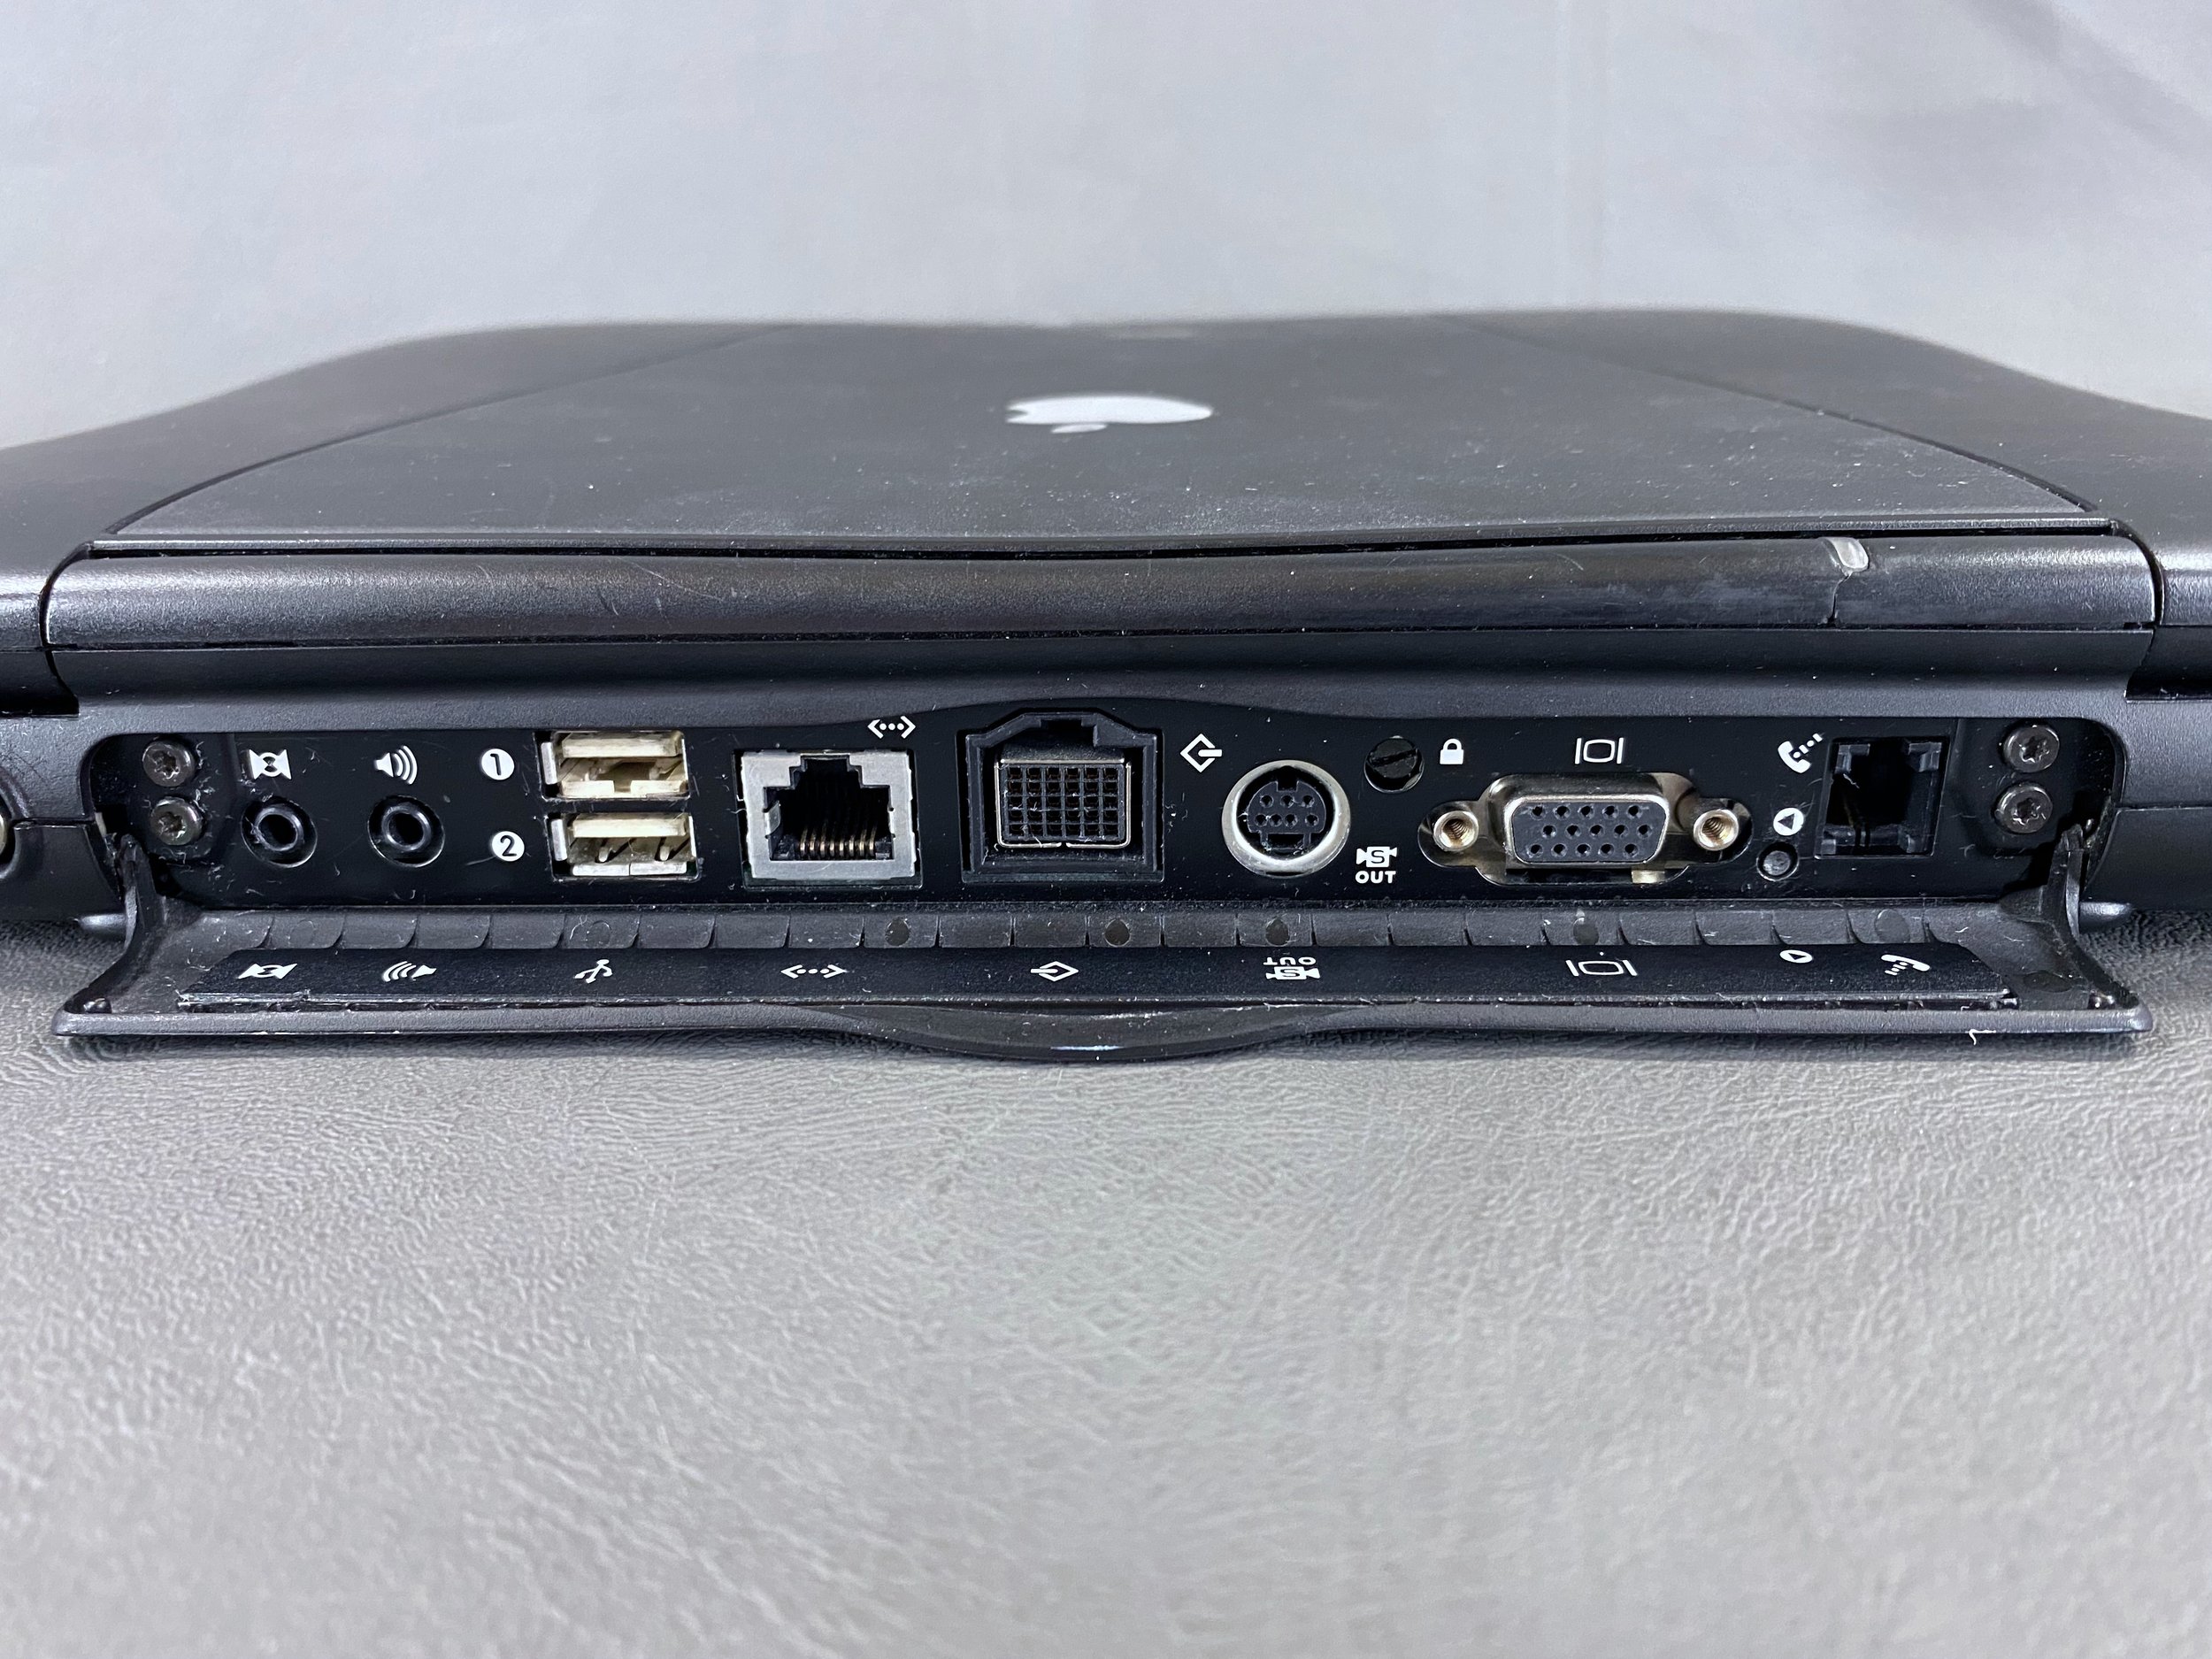
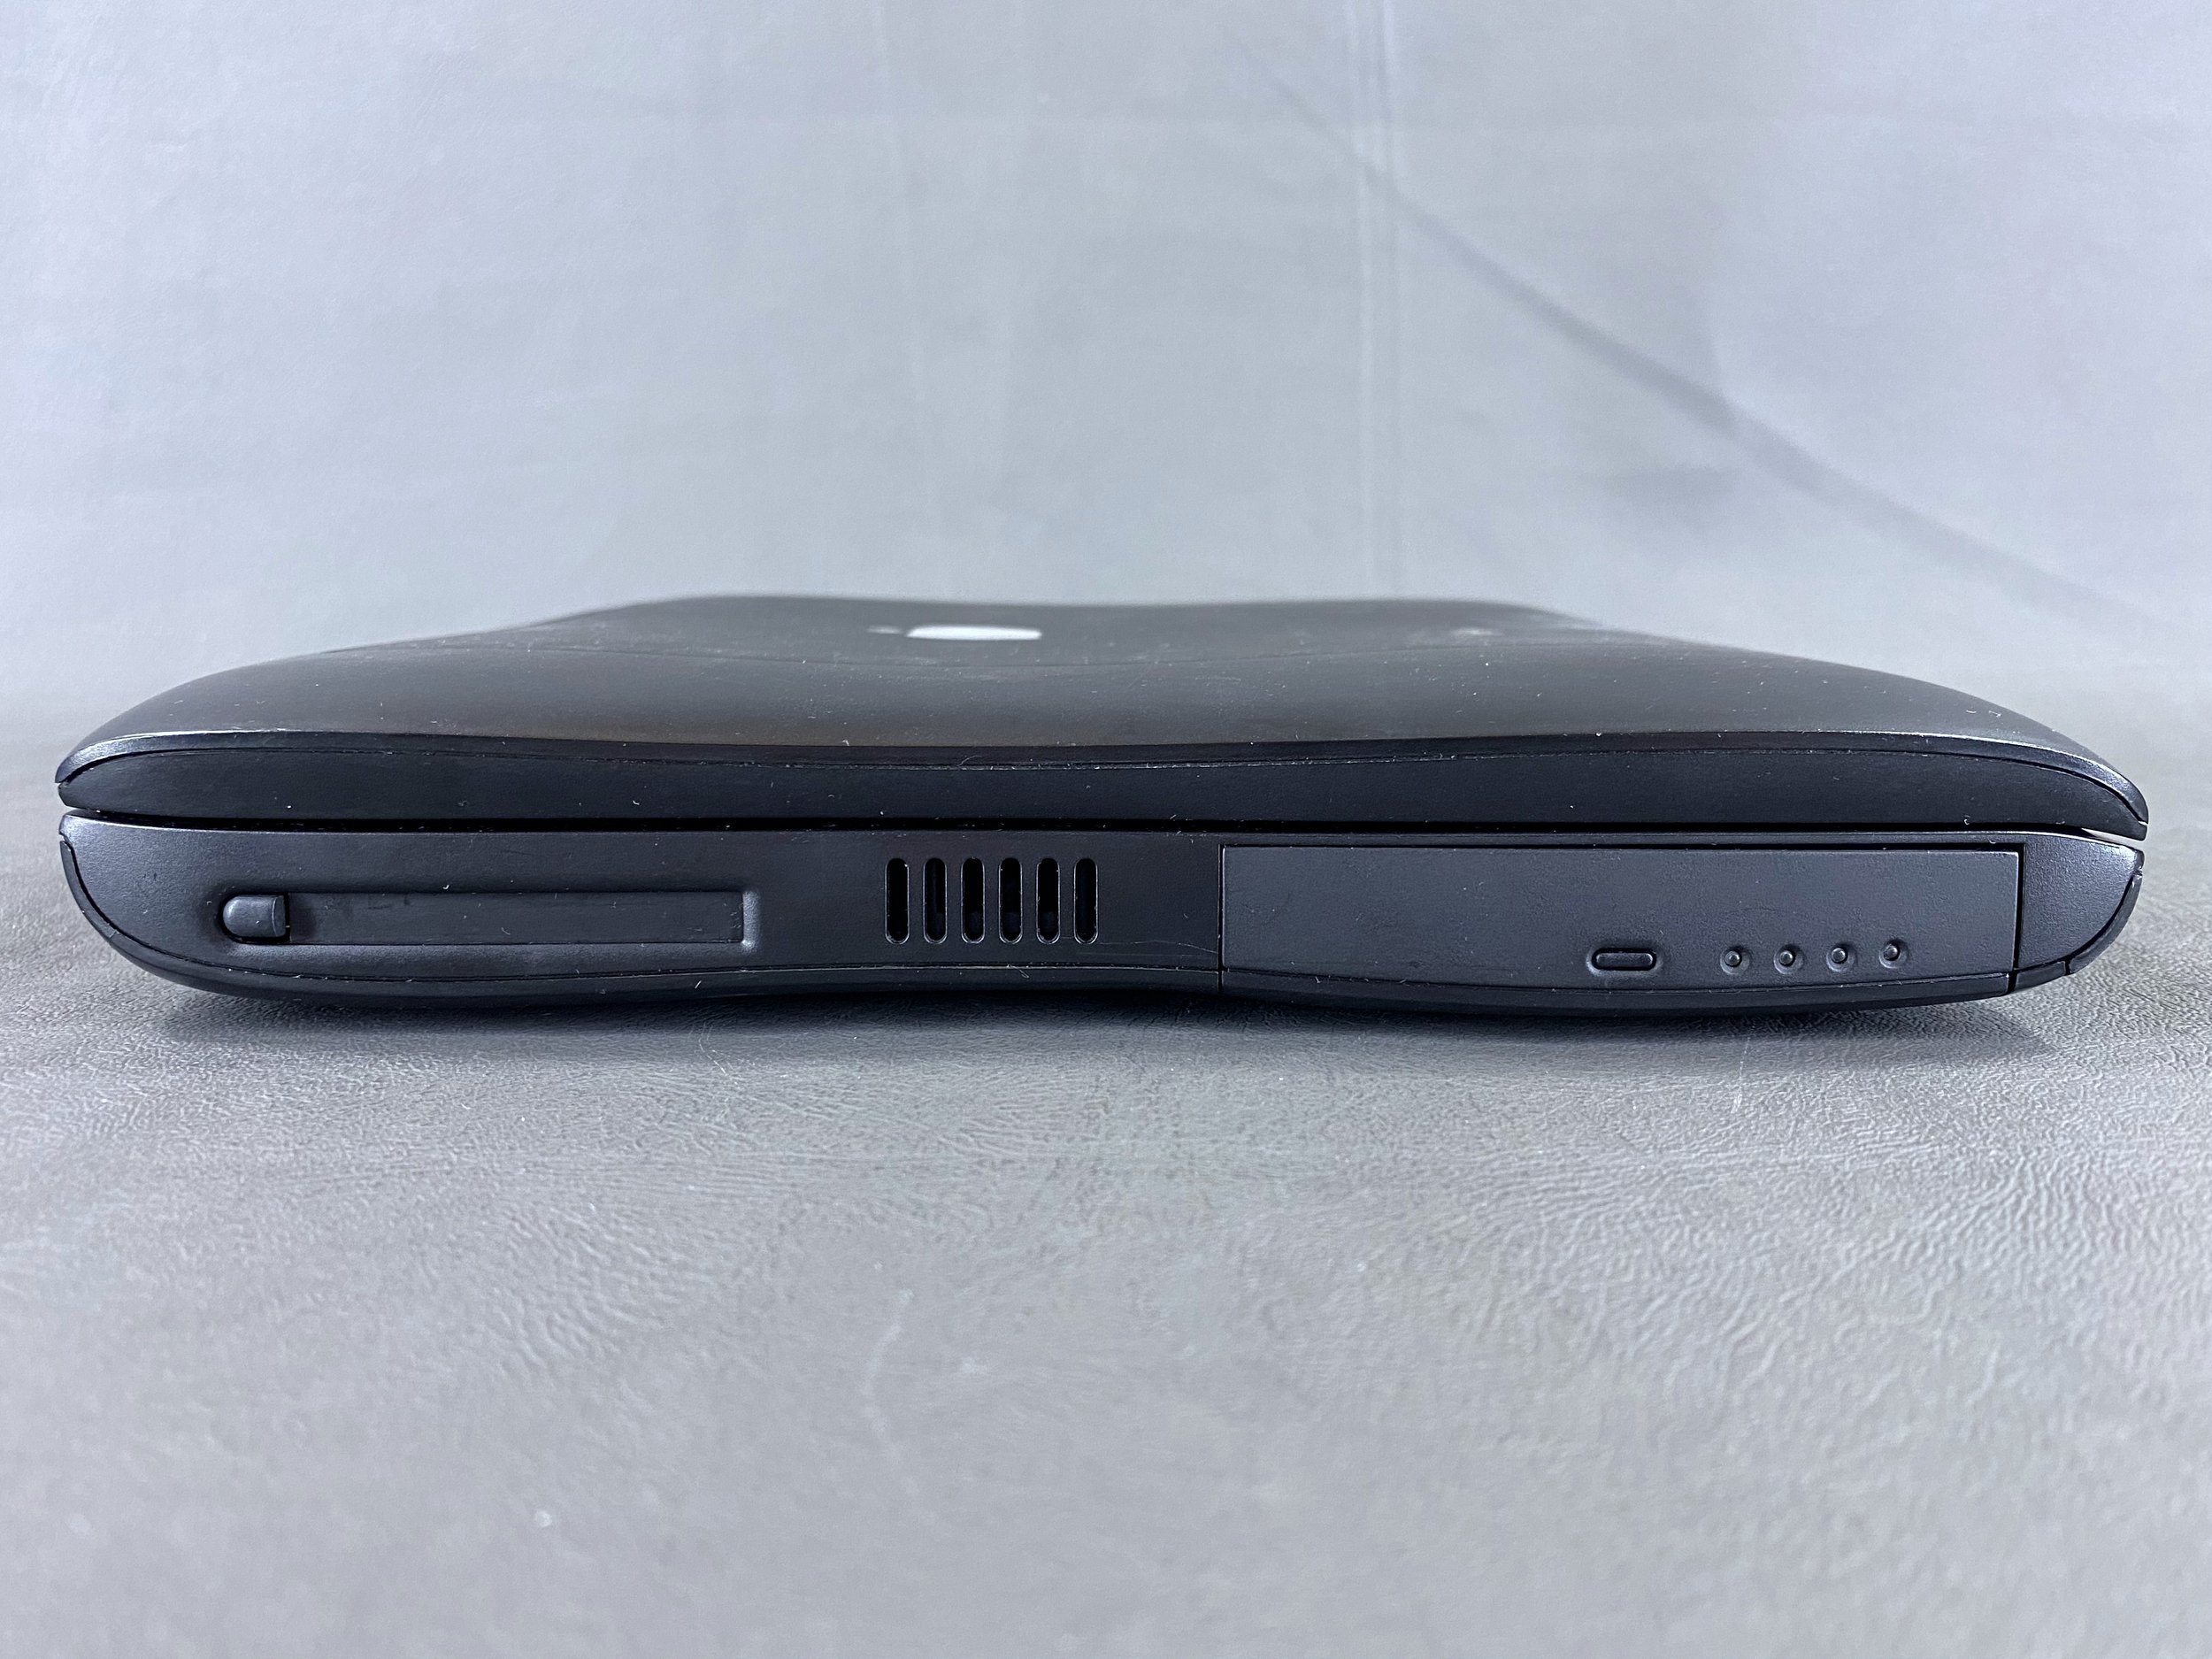
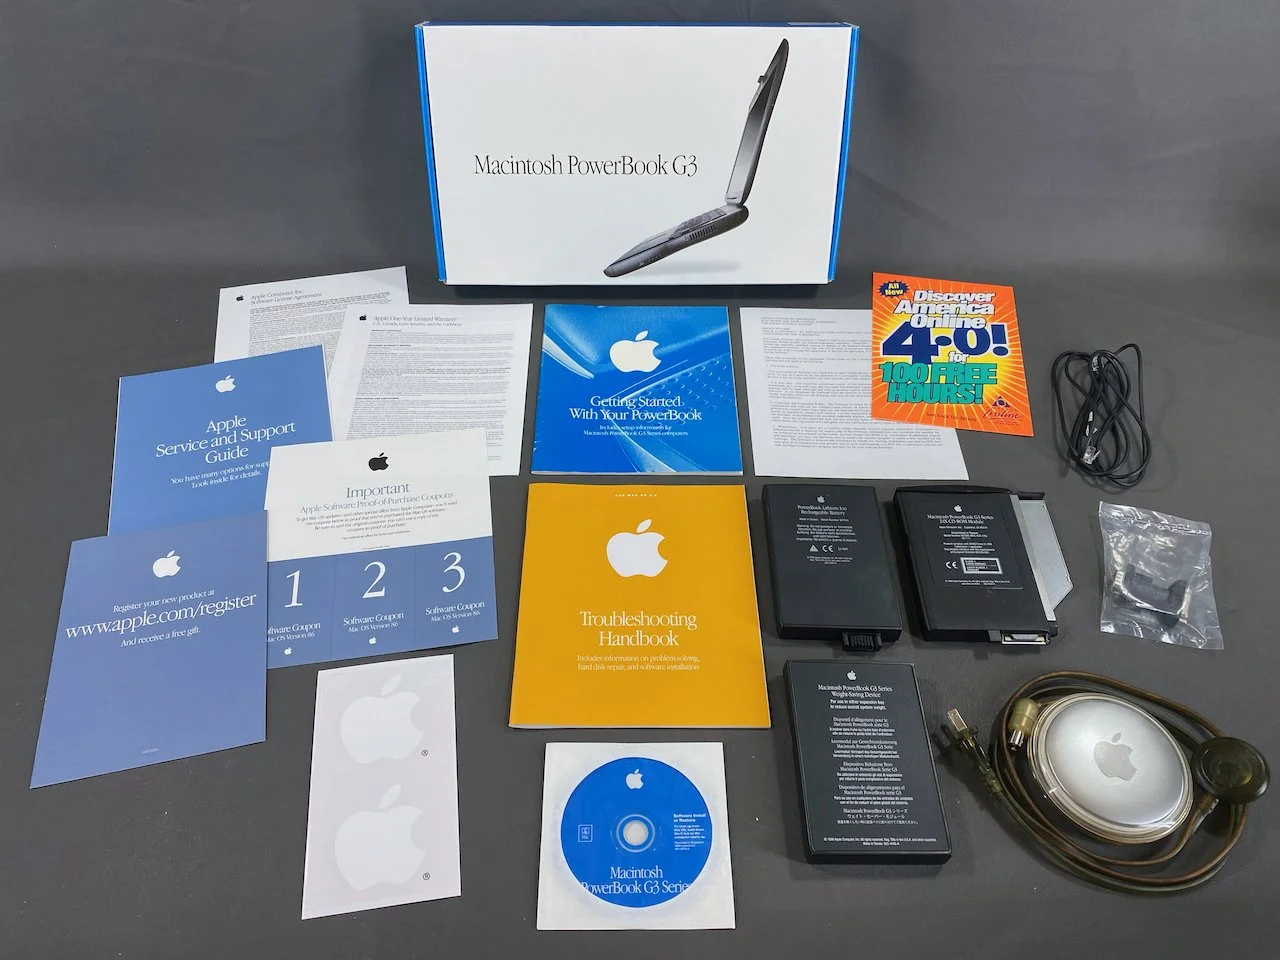
This unit is in excellent condition, and is complete with all the original packaging, power adapter, modem cable, Mac-to-VGA adapter, three hot-swappable modules (1 battery, 1 CD-ROM, 1 weight-saving device), software CD, documentation, and Apple stickers.
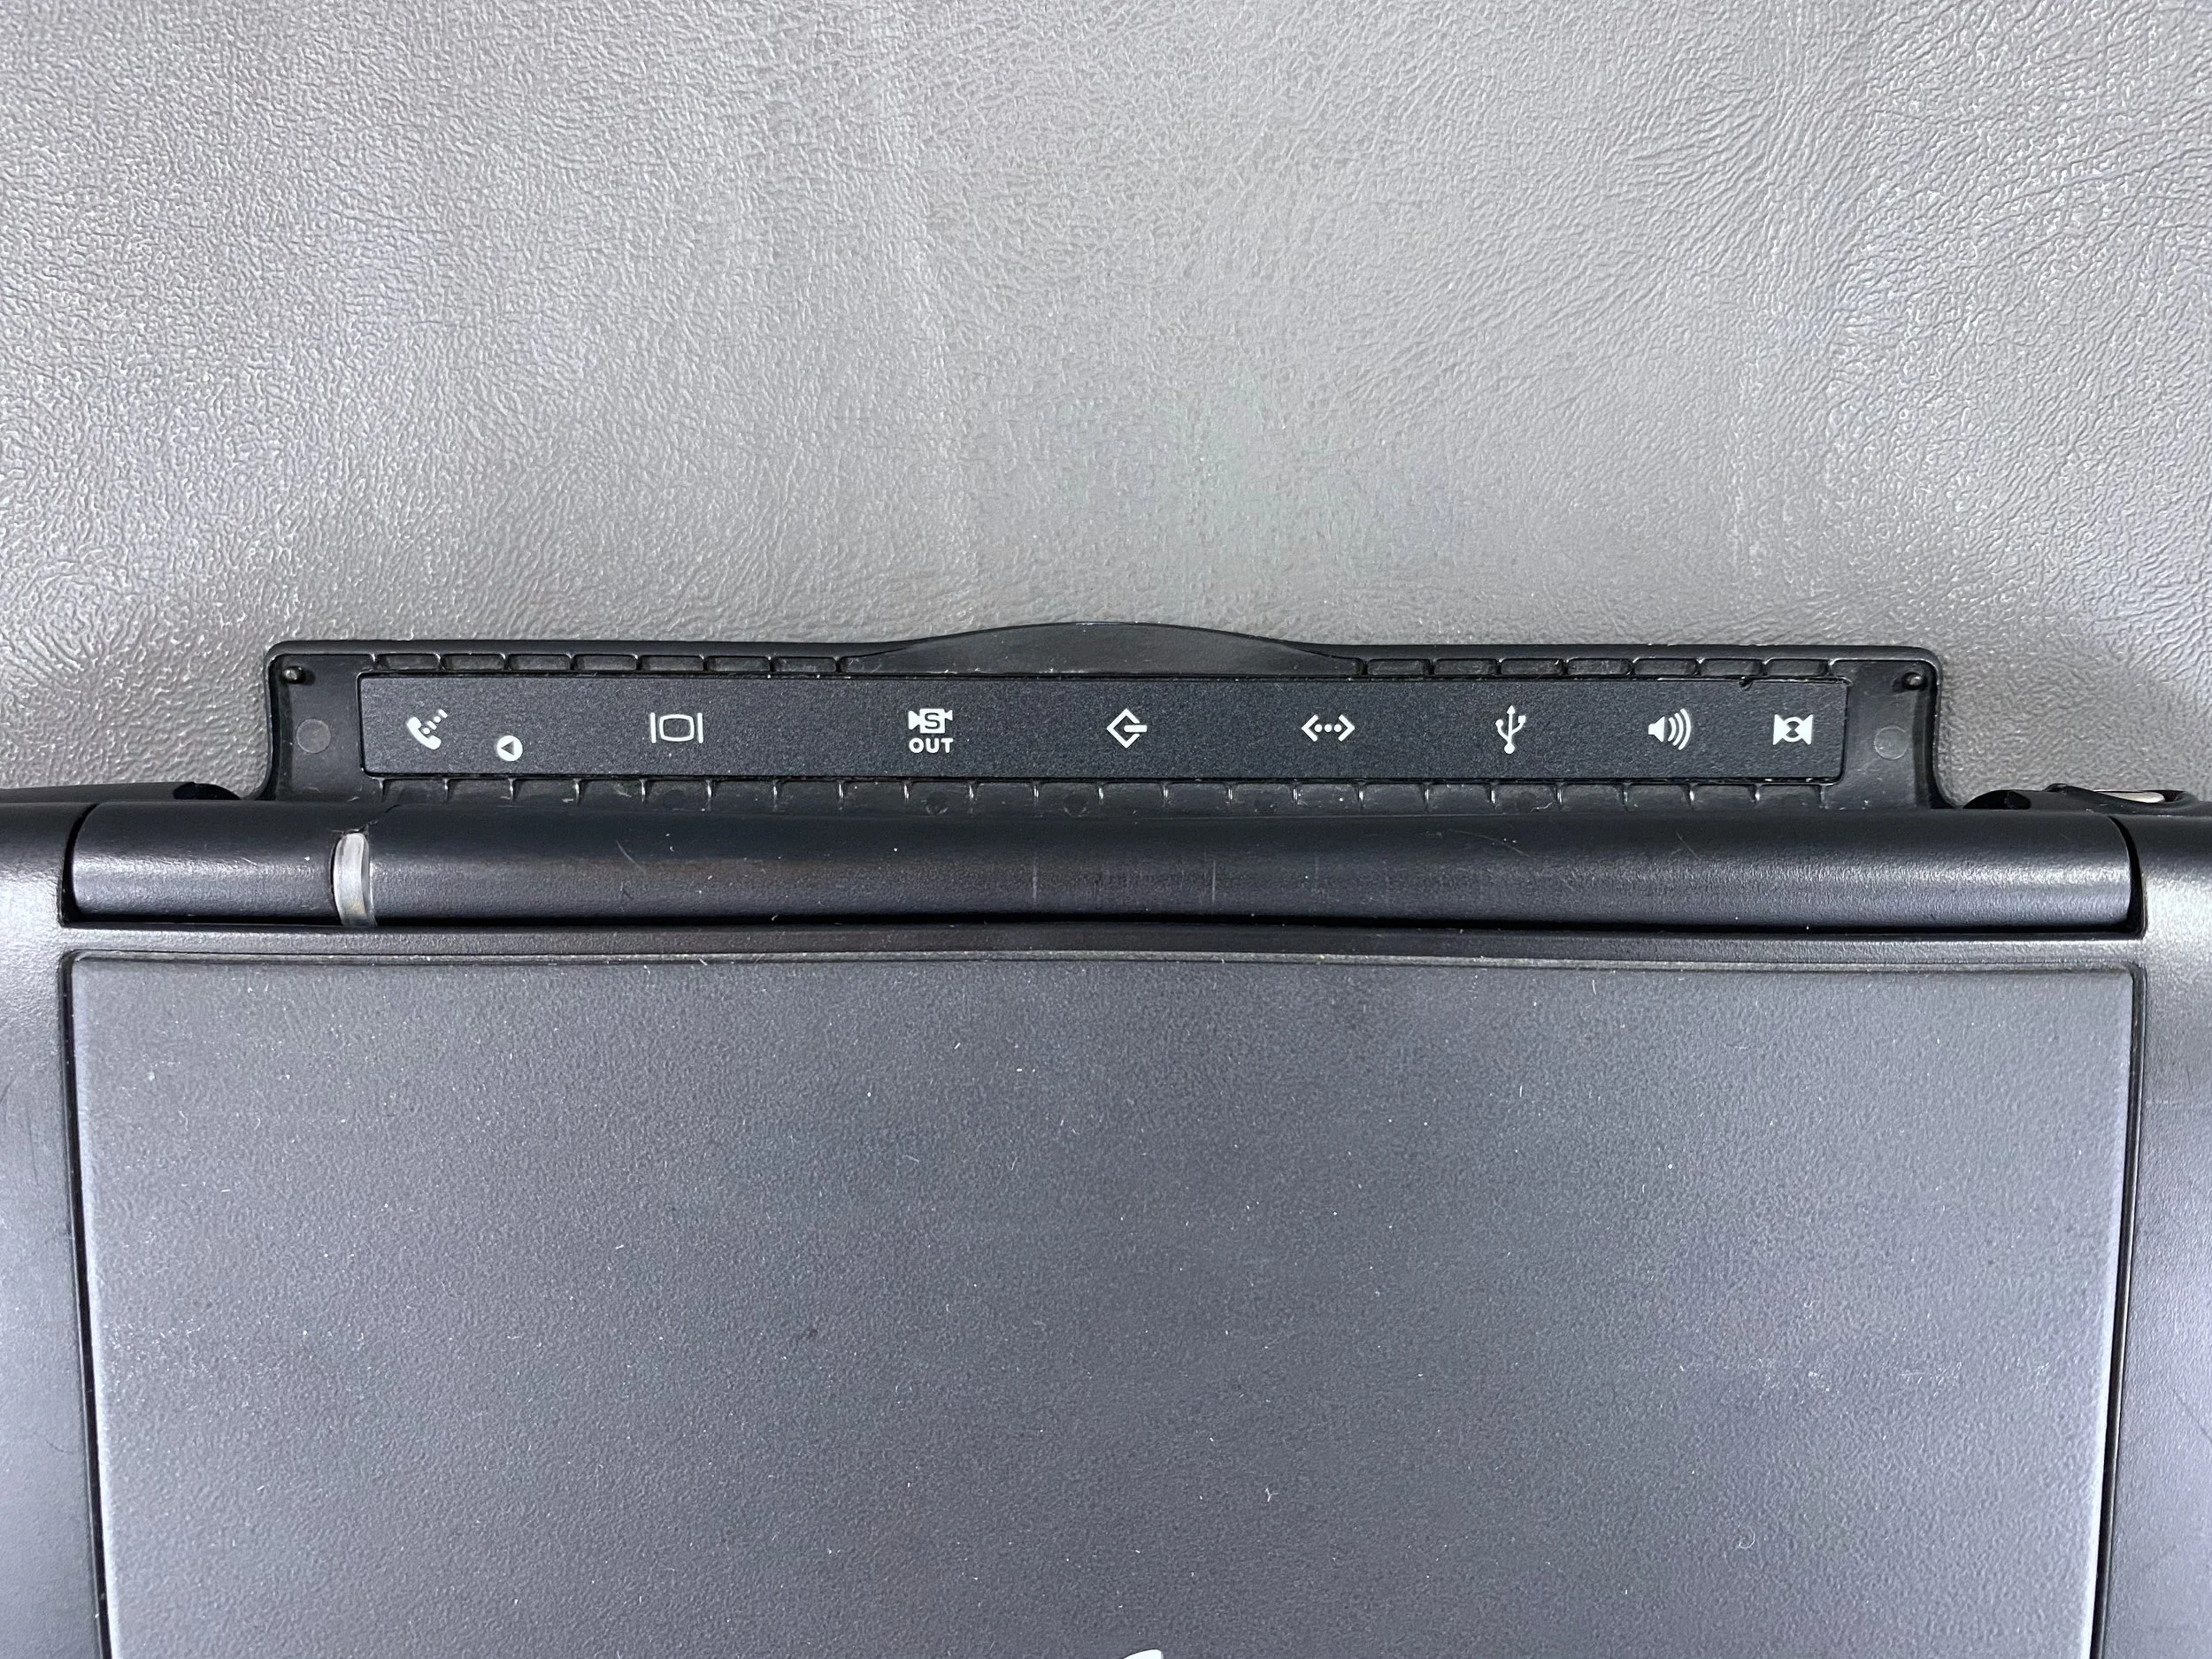
The Lombard PowerBook G3s, released in 1999, are significantly thinner and lighter than the “Wallstreet” and “PDQ” models they succeeded. The Lombard is also notable for being the only Mac that has both SCSI and USB built-in from the factory. This makes it particularly useful as a “bridge” machine between older SCSI-based Macs and newer USB-based systems.
In 2024 I replaced the original hard drive with a 64 GB SSD. HDD to SSD conversion is a common technique used in vintage computer preservation, as the original hard drives are prone to failure due to age. This upgrade also makes the computer quieter, faster, and more reliable. Scroll to the bottom of the page for more on this.
The original battery still holds a slight charge, but the machine must be plugged in to operate for any extended length of time, as is to be expected with a 20+ -year-old machine.
It is in fully working order, and is currently running Mac OS 9.1.
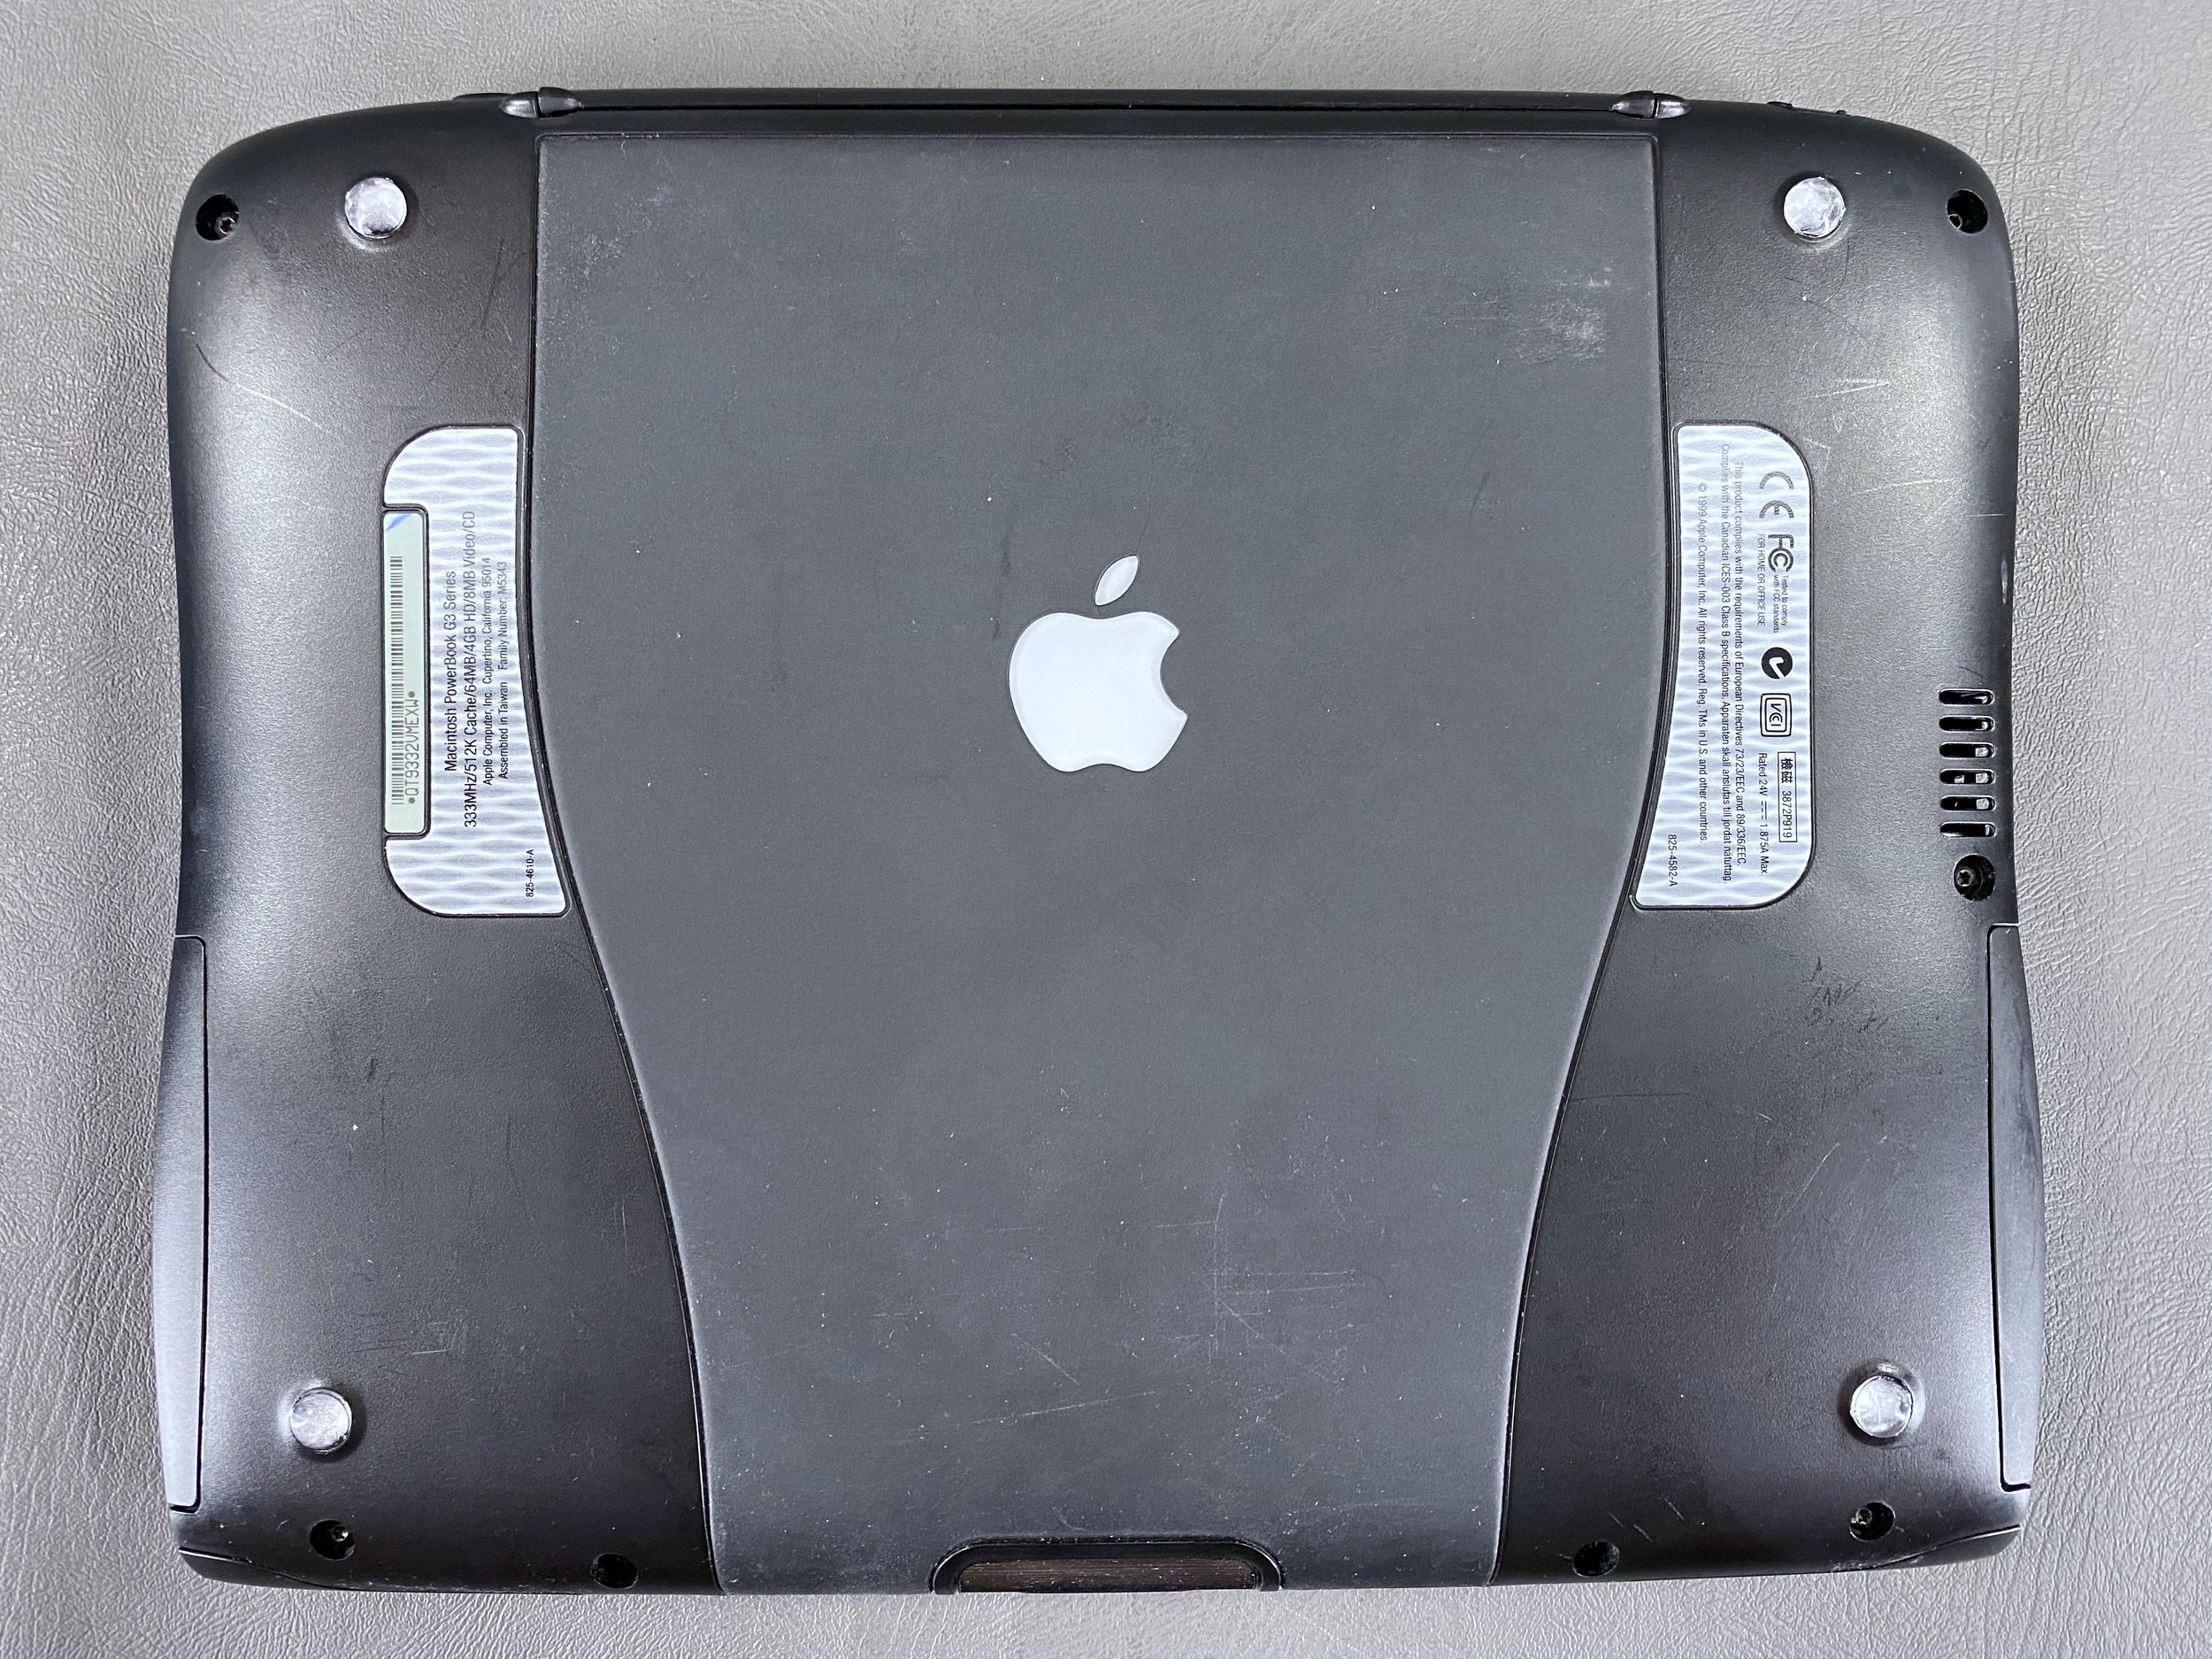
Model Identifier
This particular machine is the 333 MHz Lombard model.
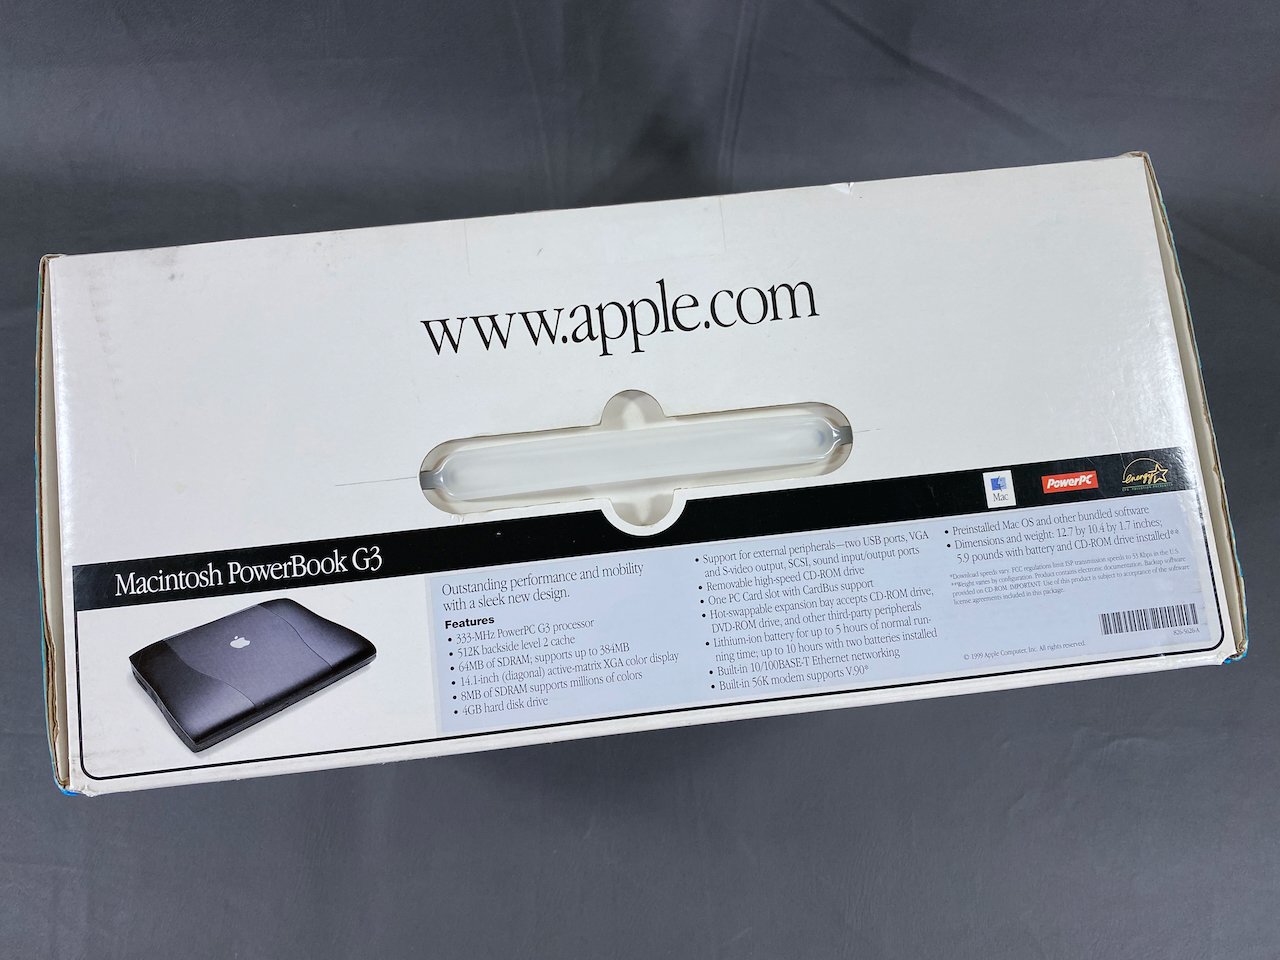
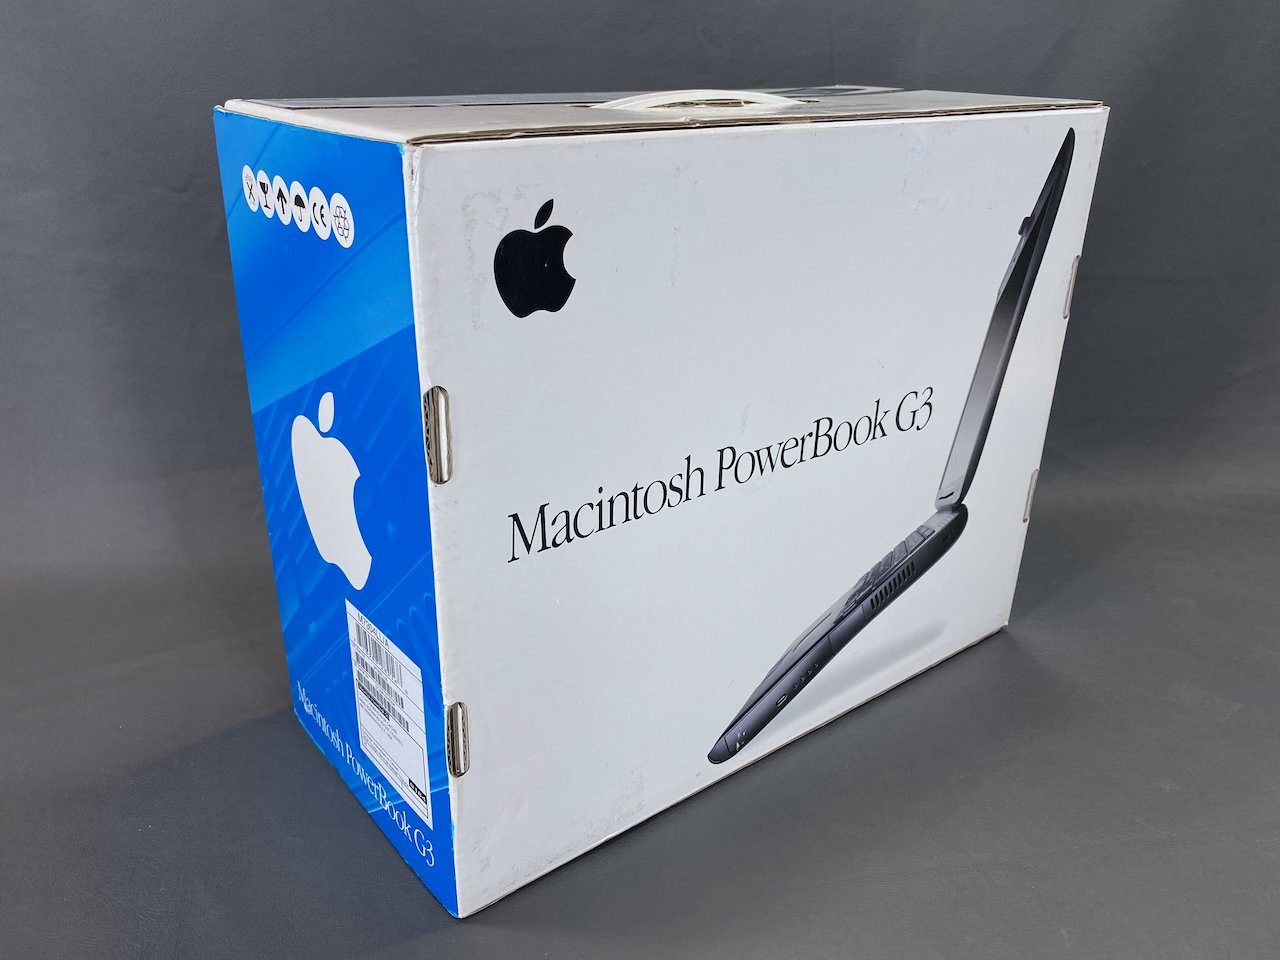
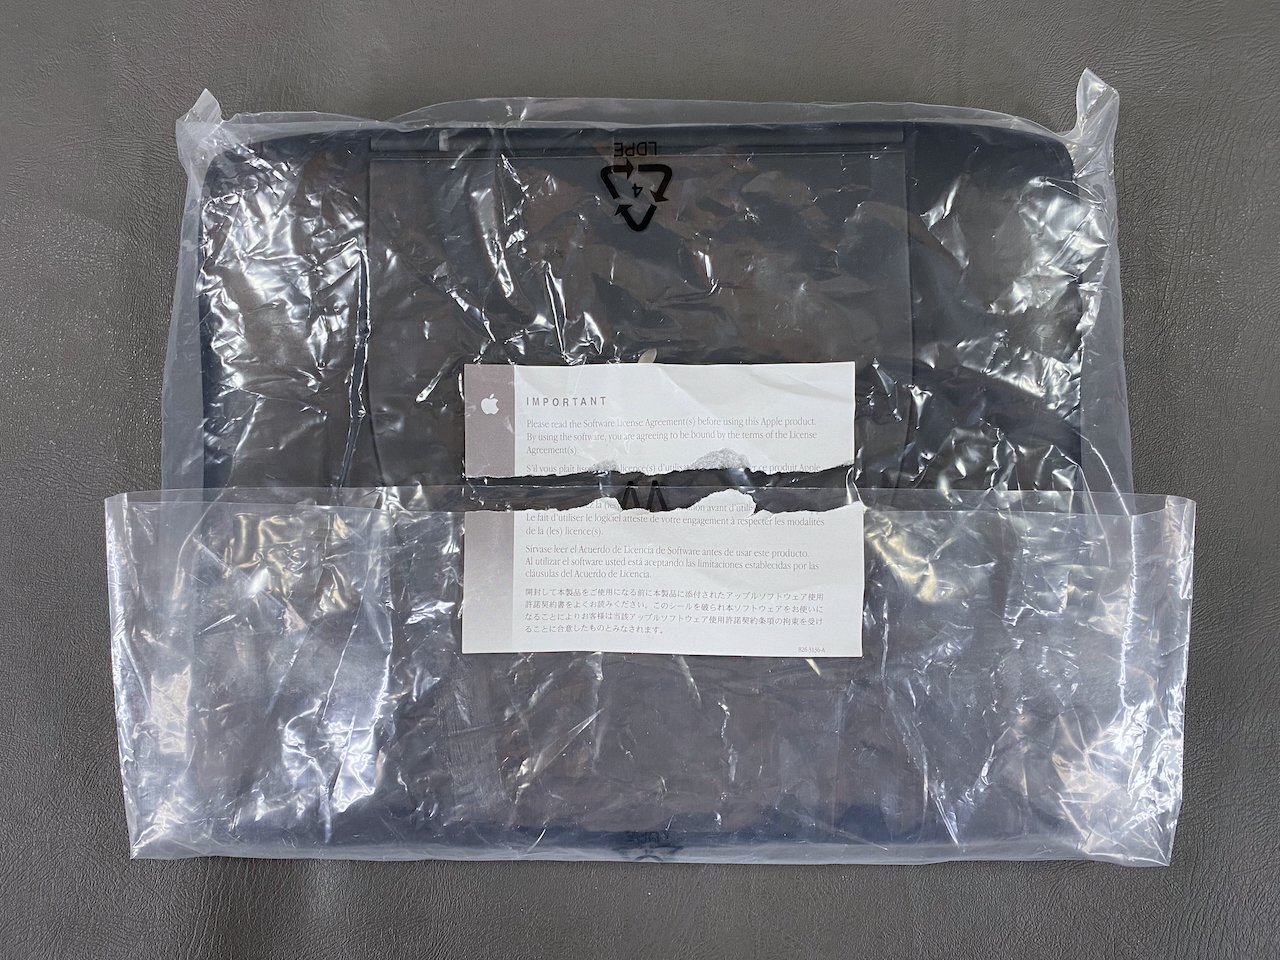
Packaging
PowerBook
Accessory Kit
Getting Started guide, software coupons, troubleshooting/AppleCare/warranty/license info, AOL and Adobe info, charger, modem cable, Mac-to-VGA adapter, three expansion bay modules (1 battery, 1 CD-ROM, 1 weight-saving device), software CD, and even the original Apple stickers from 1999!
System Specs
mSATA SSD Installation
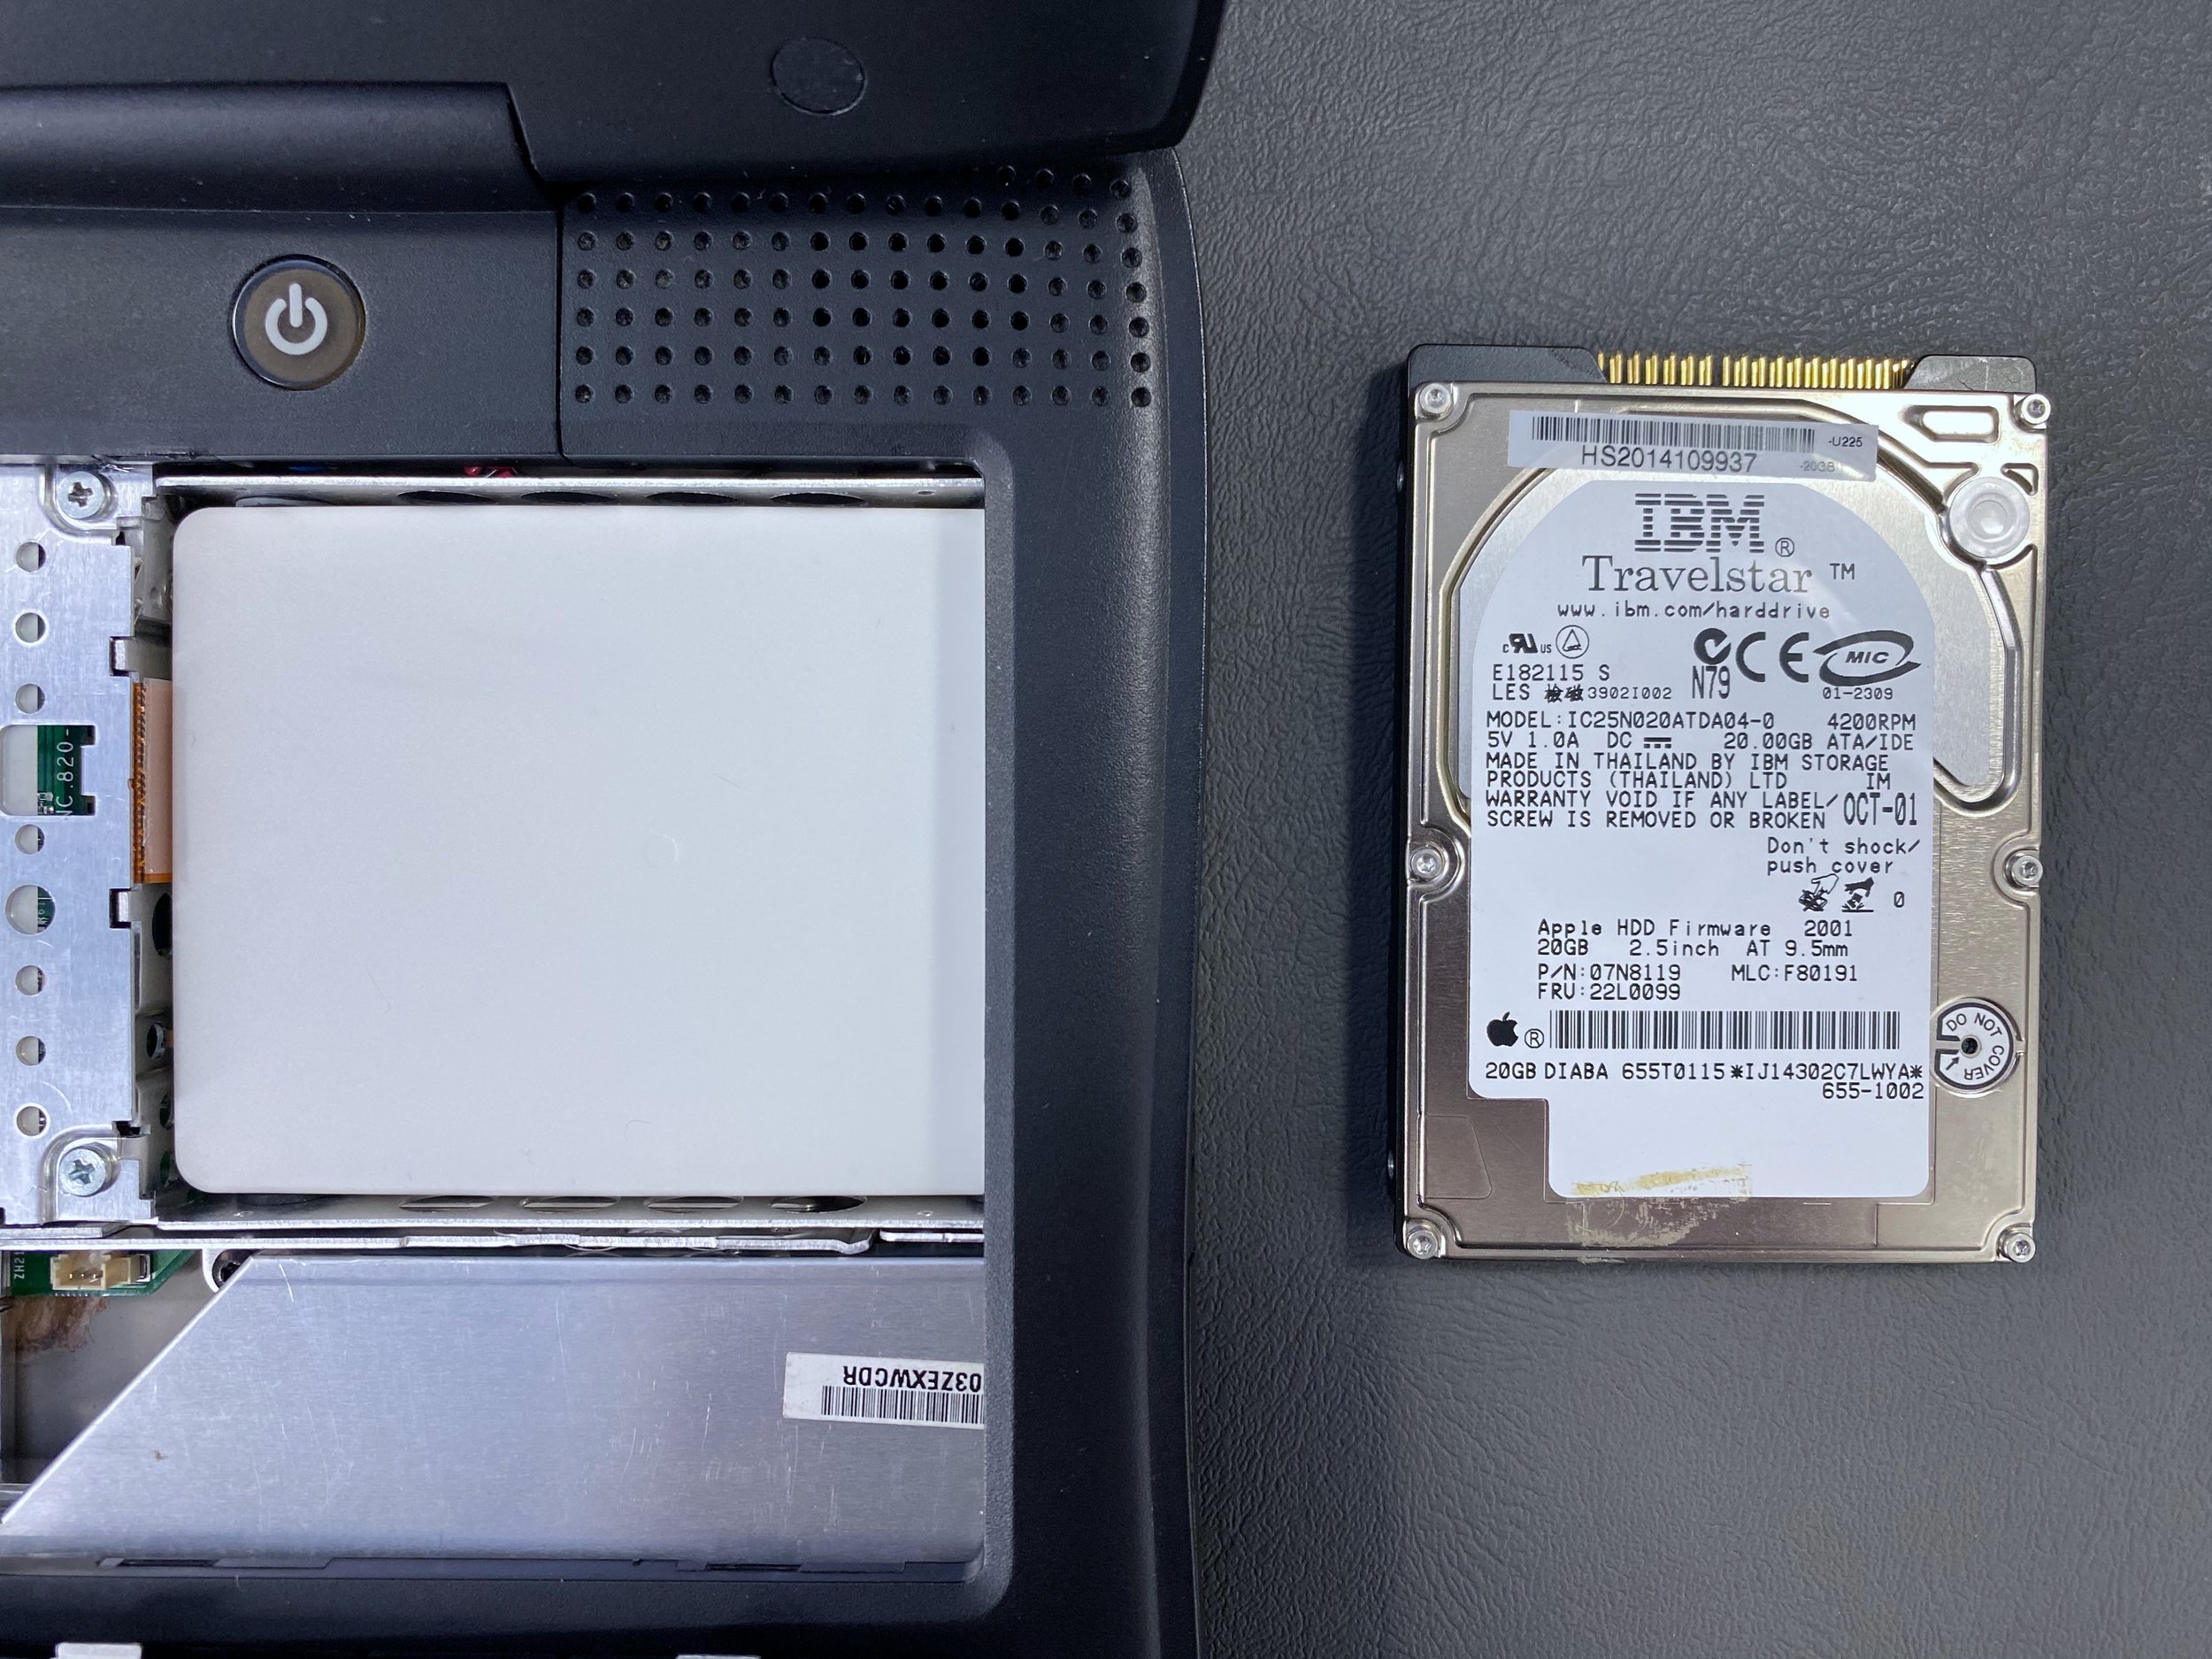
This upgrade makes the computer quieter, faster, and more reliable. I chose to install a 64 GB mSATA SSD using an mSATA-to-IDE 2.5” adapter housing.
The SSD (left) slots directly in to where the original HDD (right) was installed, using the OEM IDE cable harness and installation bracket.


